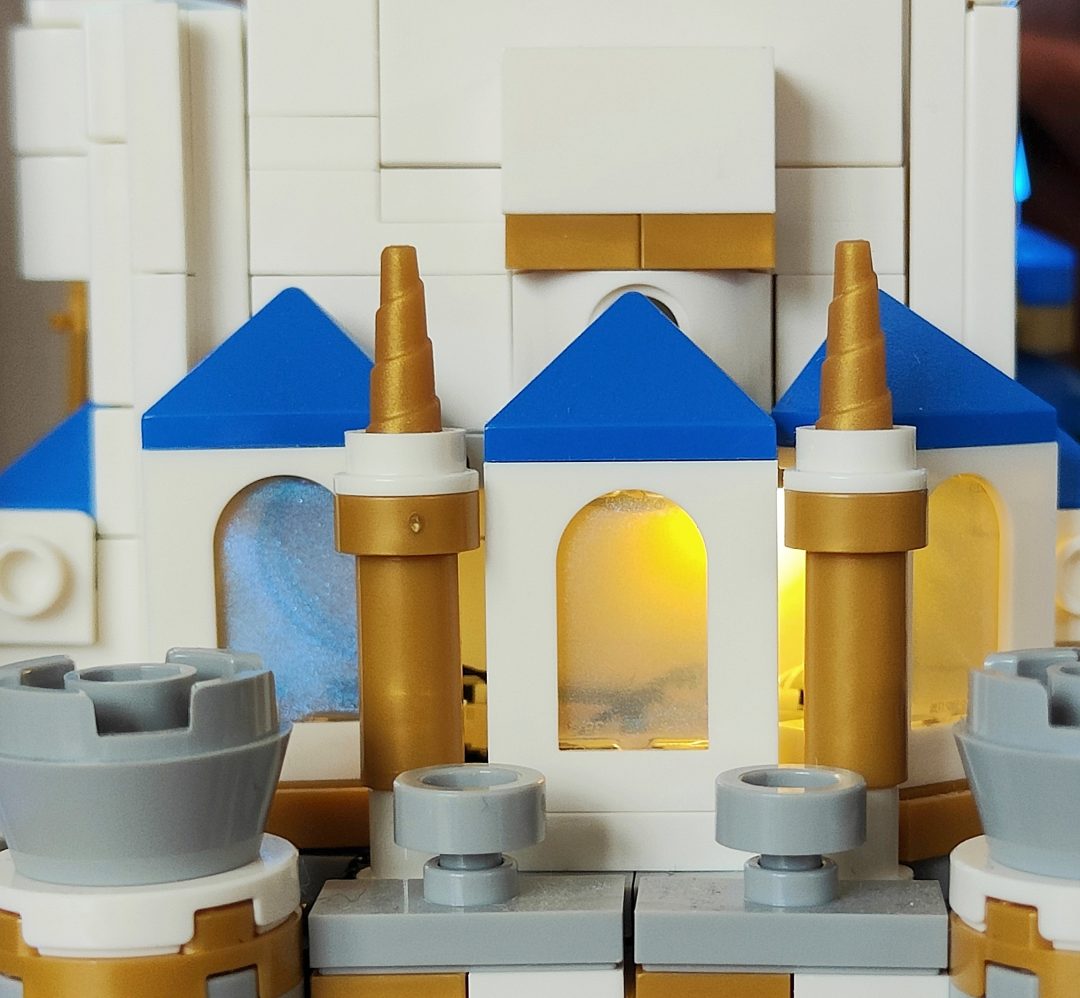
I recently received a light kit from LeLightGo to brighten up the LEGO Mini Disney Castle (40478) set, and what a great edition to the display this is, the lights dance and reflect off the walls in a true magical Disney way!
I’ll take you through the basic process of installing the light, the final product, and where to grab a set for yourself.
To watch me fit the light kit in full, head over to our Instagram account where I did it live.
For 20% off use our code thebrickpost20 during the checkout procedure.
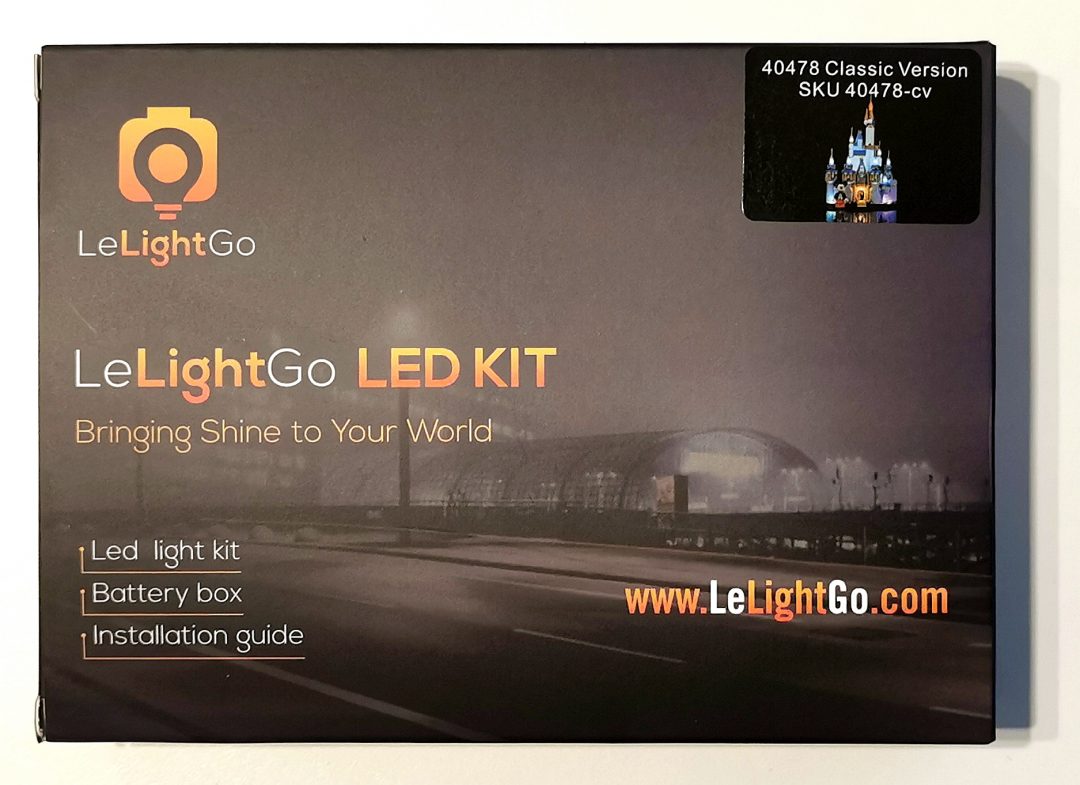
Inside the box:
The boxes are all the same size from LeLightGo no matter which kit you get, the only thing that separates them is the stickers on the front, and of course the contents inside. As you can see the box below has a label depicting the LEGO Mini Disney Castle (40478) on it.
 Open and remove the cardboard outer and you’ll find a protective plastic case that houses the cables and LEDs. I really like that LeLightGo use these cases as it not only serves as a way of insuring the product gets to you in one piece but they’re also useful for storing parts in afterwards, transporting Minifigures other many other uses.
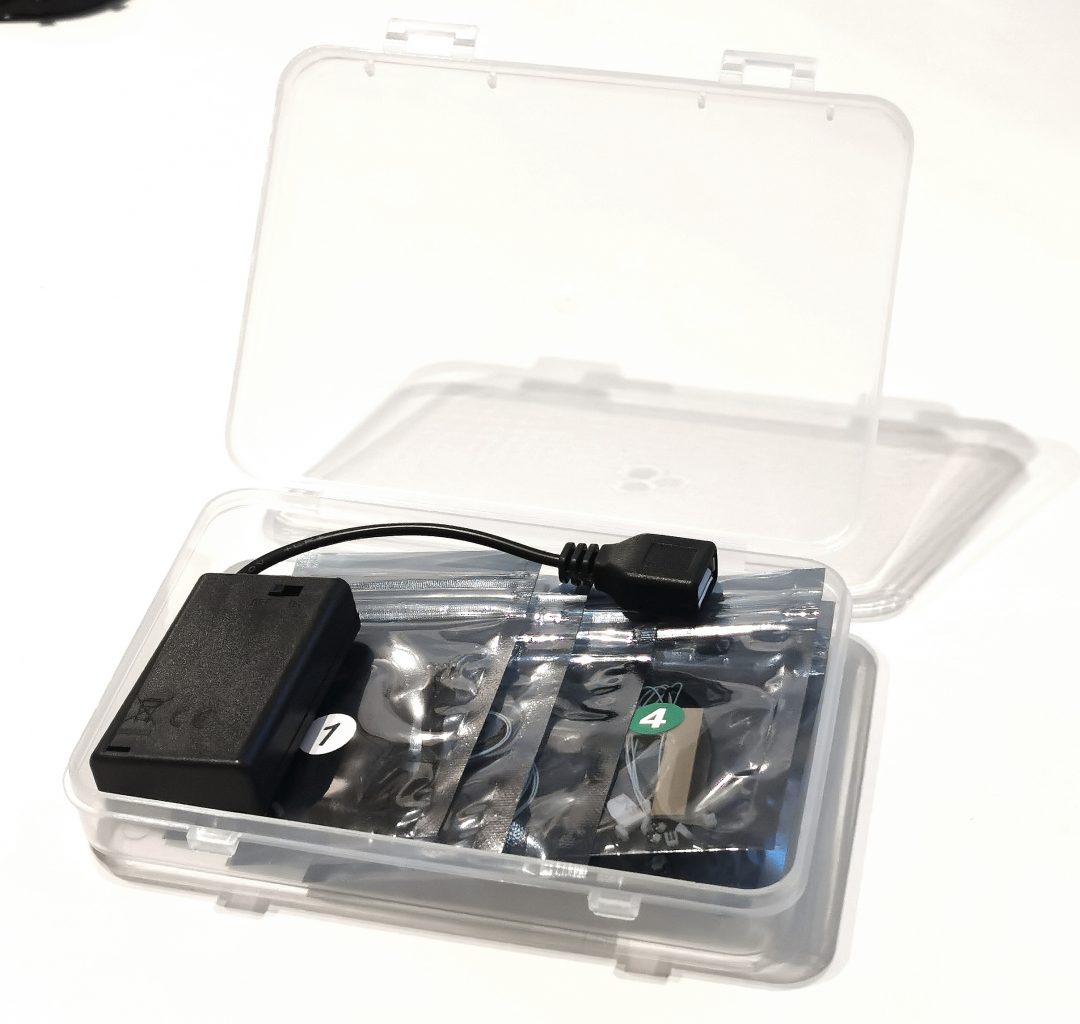
Inside the case you’ll find silvery packets, these hold the individual cables, LEDs, and connectors that are needed for your particular set.
The LEGO Mini Disney Castle (40478) set has a total of 5 numbered bags and a USB power/battery compartment.
Installation:
The whole fitting time isn’t too bad and shouldn’t take more than an hour to fit, obviously other kits will differ depending on their size and complexity.

Fitting the cables is easy and fairly straightforward, especially if you follow the instructions closely and to the book. Taking parts off here and there, tucking cables under bricks and hiding LEDs inside studs etc.
You’ll find the instructions on the LeLightGo website under the appropriate menu tab. A tip to help find the appropriate PDF manual faster is to ‘search in page‘ using the LEGO set number. These are in PDF format and can be viewed on most devices, or prints out of needed.
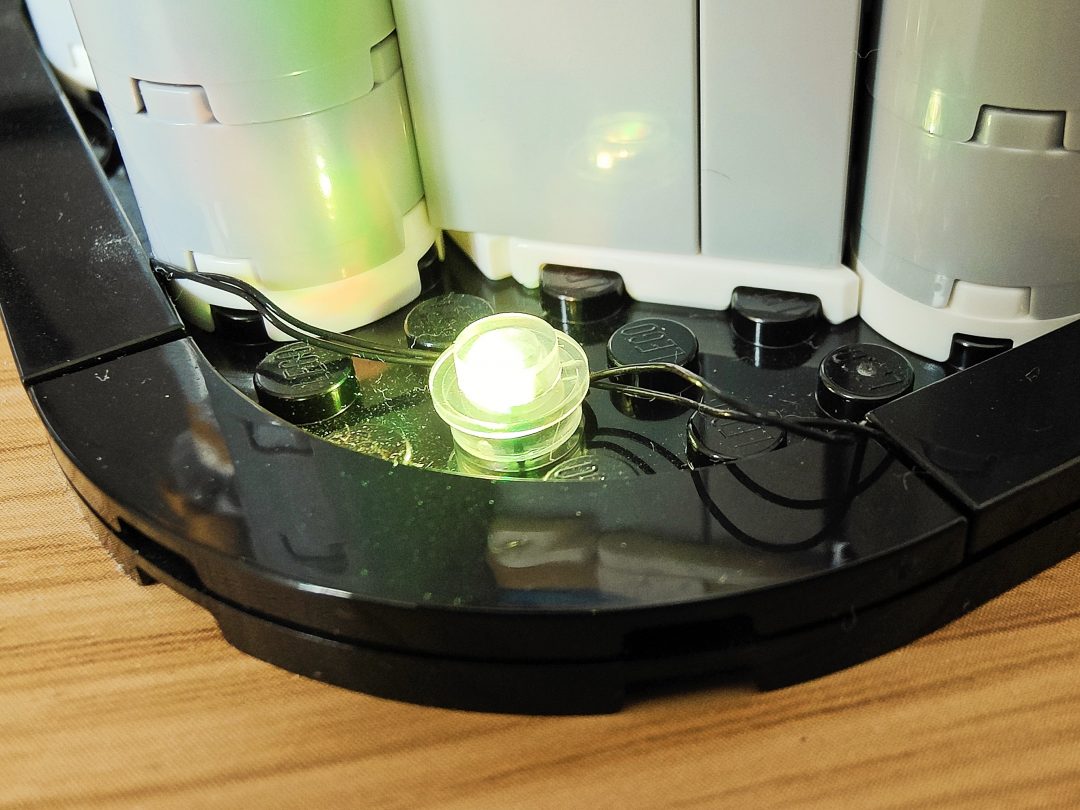
There are some fiddly parts throughout the process but you get that with most kits when threading and laying cables under and through LEGO elements. Squishing them under studs takes a little more patience then other parts but you soon get the hang of it and you’ll have the kit installed in no time.
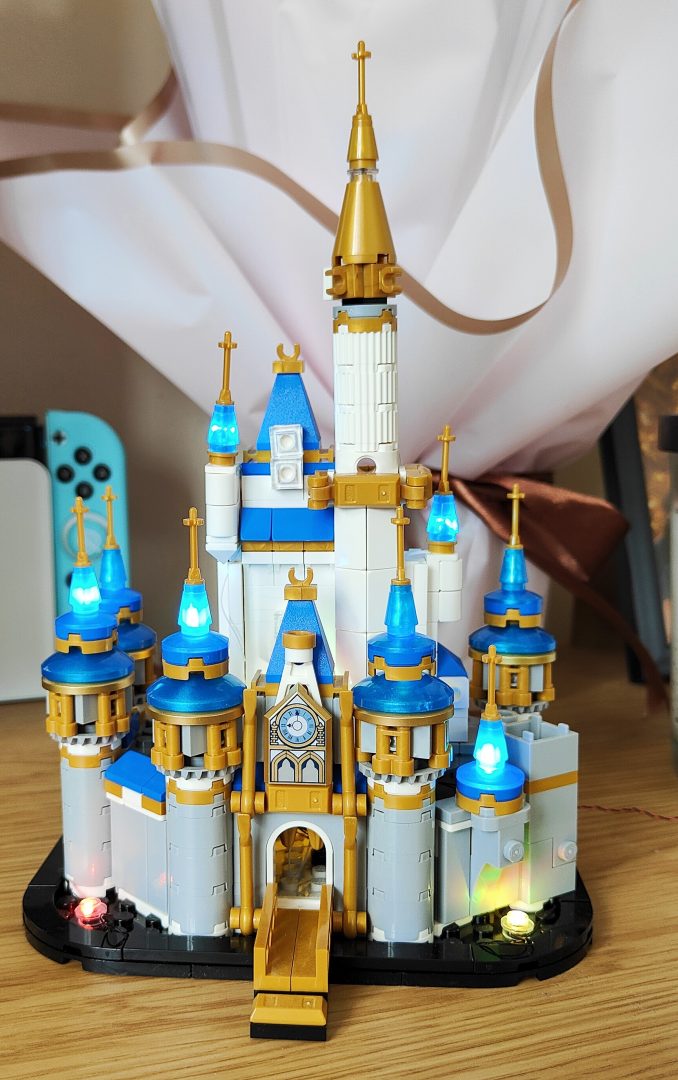
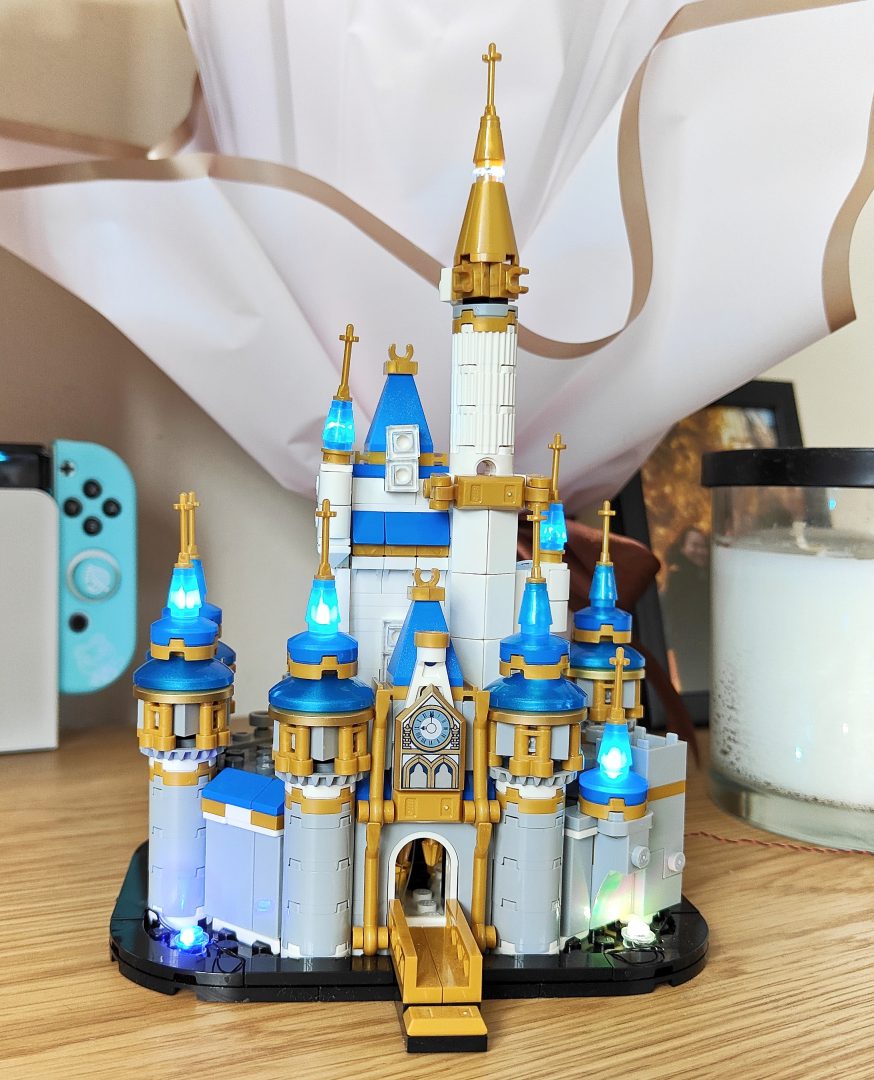
For such a small set you do need to remove slightly more pieces then other sets, but that’s because you thread cables up the middle of each tower. As always the results are breath-taking and you’ll be sitting back admiring your handy work in no time at all!
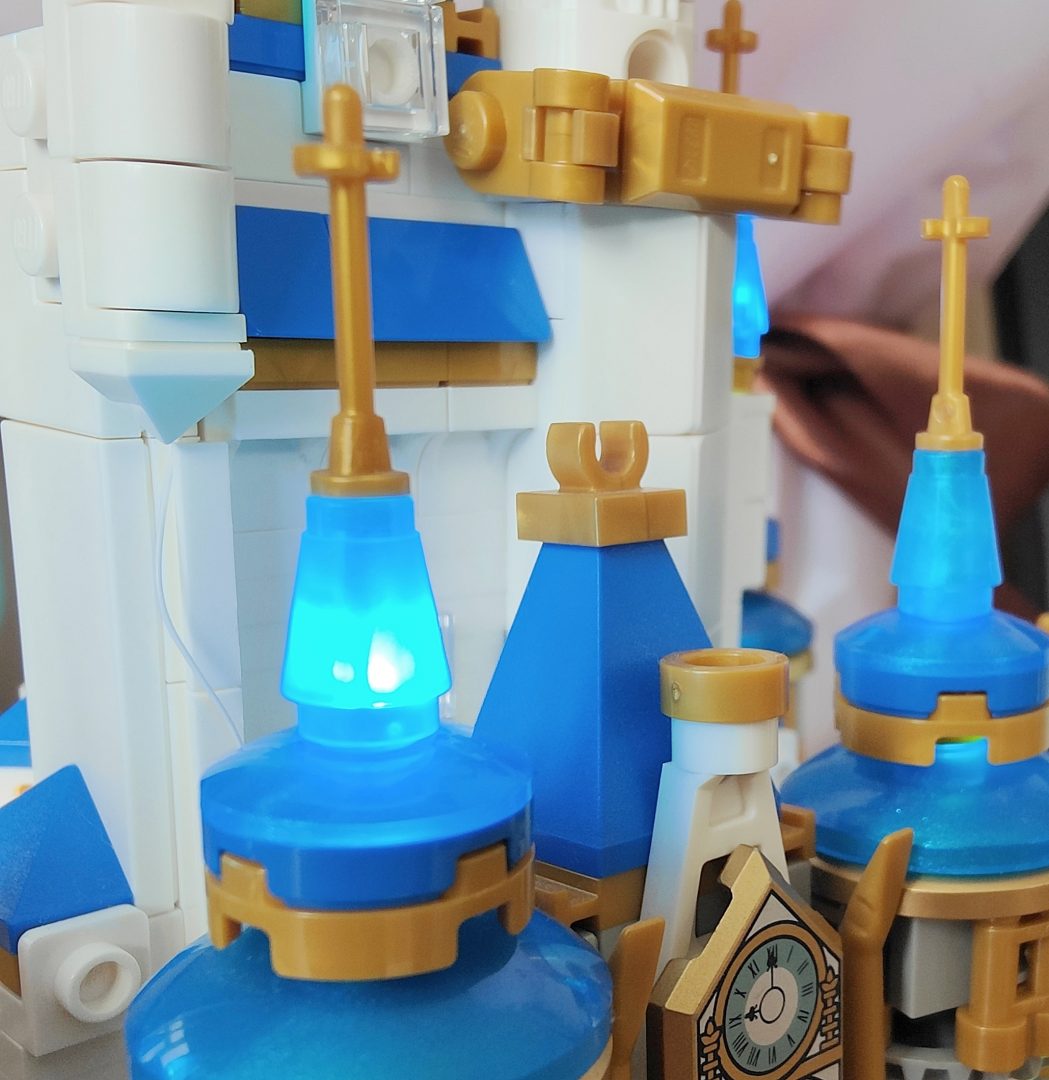
Popping the finished product on your shelf and hitting the on switch really is what it is all about and you forget the few hardships of the installation instantly and wanting to order another LeLightGo Light Kit!
Get yours here:
If you fancy grabbing this light kit or any other kit for you LEGO collection then please visit the website by clicking the links below, we have popped out affiliate code in there too which may result in us gaining a small commission, this helps to keep the website running and bringing you all the latest LEGO news and reviews.
LeLightGo: https://lelightgo.com/?sca_ref=1326002.HFJ9qBQEID
LeLightGo Mini Disney Castle kit: https://lelightgo.com/products/light-kit-for-mini-disney-castle?sca_ref=1326002.HFJ9qBQEID
Discount code (20% off): thebrickpost20
Other kits available include the DeLorean, Vespa, Home Alone and so many more, check out these articles below for what you can grab from LeLightGo!
What is your reaction?
 YES!
YES!
 I like it
 It's OK
 Not Sure
 No!
No!