Here at The Brick Post we love to take our LEGO sets to the next level whenever we can, either with a cool modification, addon, or most recently adding lights to the LEGO Police Station Modular (10278)!
We would like to introduce to you the incredible LED Light Kits brought to you by BRIKSMAX!
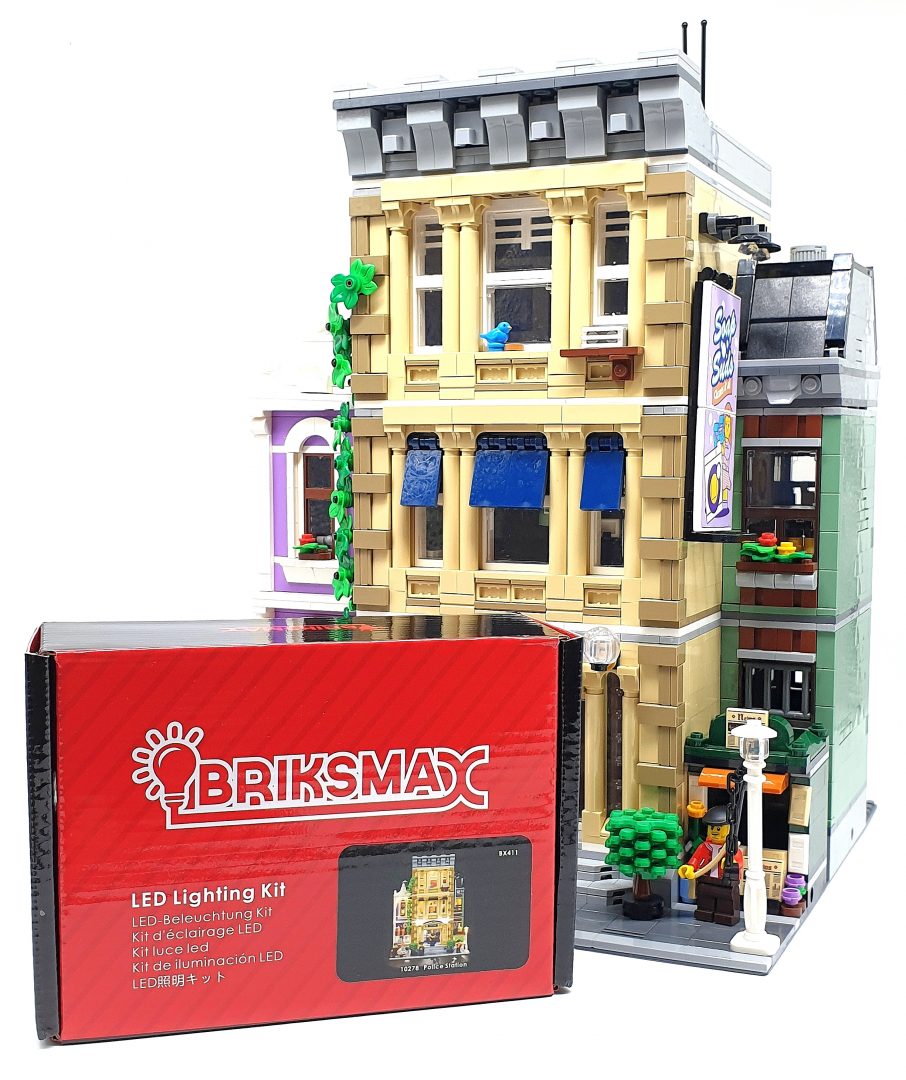
I would like to start off by being completely transparent and stating that BRIKSMAX got in contact with us and have kindly supplied us with an LED Light Kit of our choice. With LEGO Modulars being our most popular theme we thought how cool would it be to, eventually, light up a LEGO City, with the LEGO Police Station Modular (10278) being a perfect starting point!
If you’re an avid reader of ours you’ll know we’ve only dabbled with one other light kit, and that was for a considerably smaller set (Infinity Gauntlet). So having the chance to go bigger was a must, and I’m so happy to bring BRIKSMAX to you all.
Let me run you through how I got on and my thoughts on the BRIKSMAX LED Light Kit for the LEGO Police Station Modular (10278). You’ll also find a discount code towards the end of the article!
What’s in the box:
Being new to the World of light kits I wasn’t sure what to expect but I must say I was pleasantly surprised at what fell onto my doorstep. It took roughly a week to arrive from receiving the dispatch notification, which is really good going as I couldn’t wait to get stuck in.
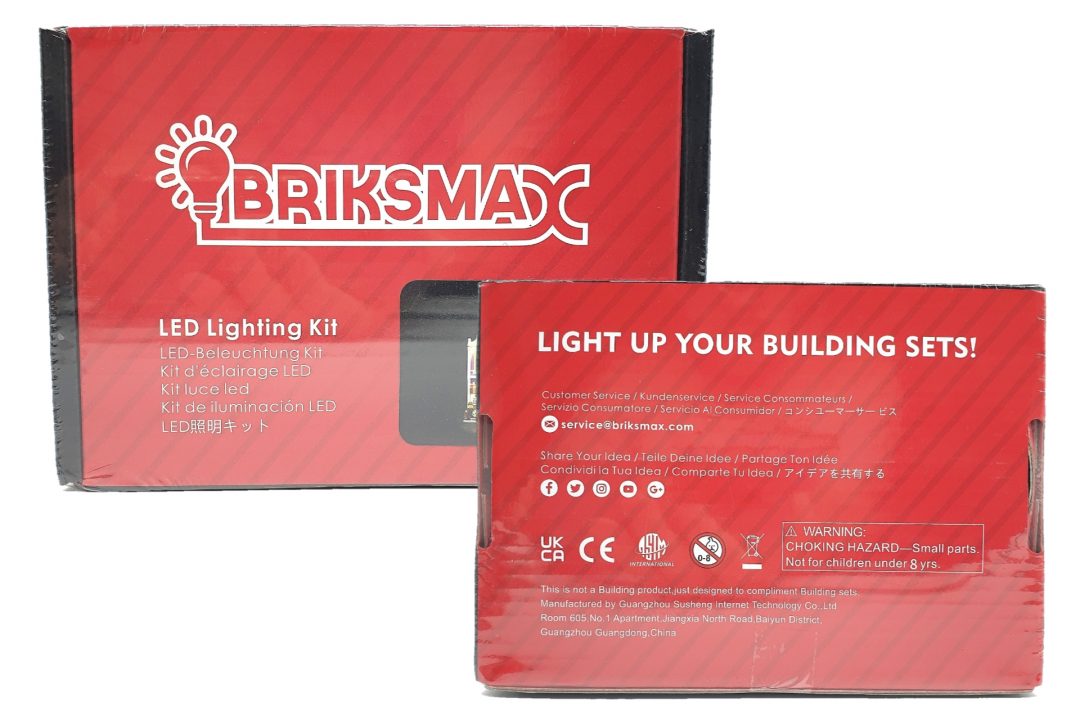
Once you’ve got the outer packaging off and the BRIKSMAX box on the table, you get the sense it’s a ‘premium’ from the get go, the cardboard box is thick and the design is great, with their logo and a few details on the front and the customer service info on the back.
Inside the box you’ll find a bunch of high quality zip pouches that also bear the BRIKSMAX brand and design. You’ll also find the instruction manual, which is incredibly well produced and a much needed part of the whole installation process.
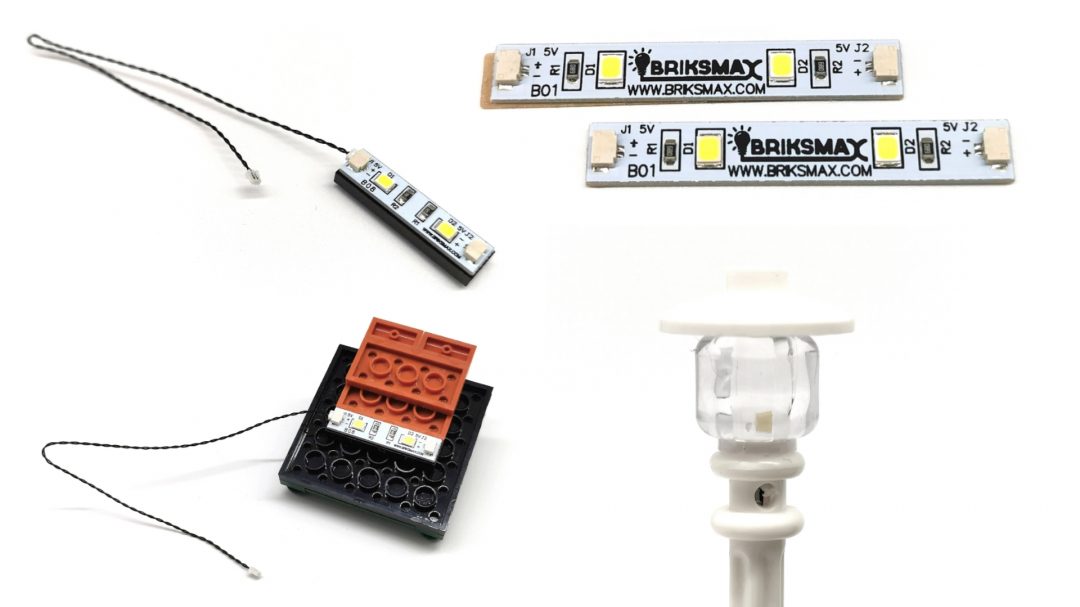
Amongst the handful of pouches you’ll find all the parts needed to complete the transformation, including cables and wires, battery box (with a USB mains option), genuine LEGO parts, and a pre-drilled and fitted lamppost!
Let me quickly show-off the instruction manual in all its printed glory. Unlike many other brands you actually get a nice little printed booklet, which does make a huge difference when it comes to seeing exactly where bulbs and cables should go.
Having something physical to hold, flick-through, and follow makes it so much better and makes the installation go that much faster, the overall time it took me to fit this BRIKSMAX LED Light Kit was two to three hours, which did involve taking short breaks and grabbing a much needed coffee.
Now that we’ve seen what’s inside the box and have a better understanding of what awaits us, let’s get stuck in and fit the BRIKSMAX LED Light Kit!
Fitting the light kit:
If you’re anything like me and find the thought of installing a light kit daunting and a stressful exercise you be somewhat right. Having to dismantle some of the build to thread cables through and wedge bulbs under is the main process to this and any other light kit.
But here comes the good news, once you get into it and get bag one under your belt the whole thing becomes oddly enjoyable and you soon get into the swing of things. Knowing how to properly handle the cables, chips, and other small electronic pieces is key to not damaging them, but they are quite resilient so don’t worry yourself too much there.
There are a variety of elements that make up the light kits, from a ton of thin wire cables and LEDs, to electronic boards and a prefitted lamppost. We also get a battery pack and a remote control, which I’ll go into more detail later in the article.
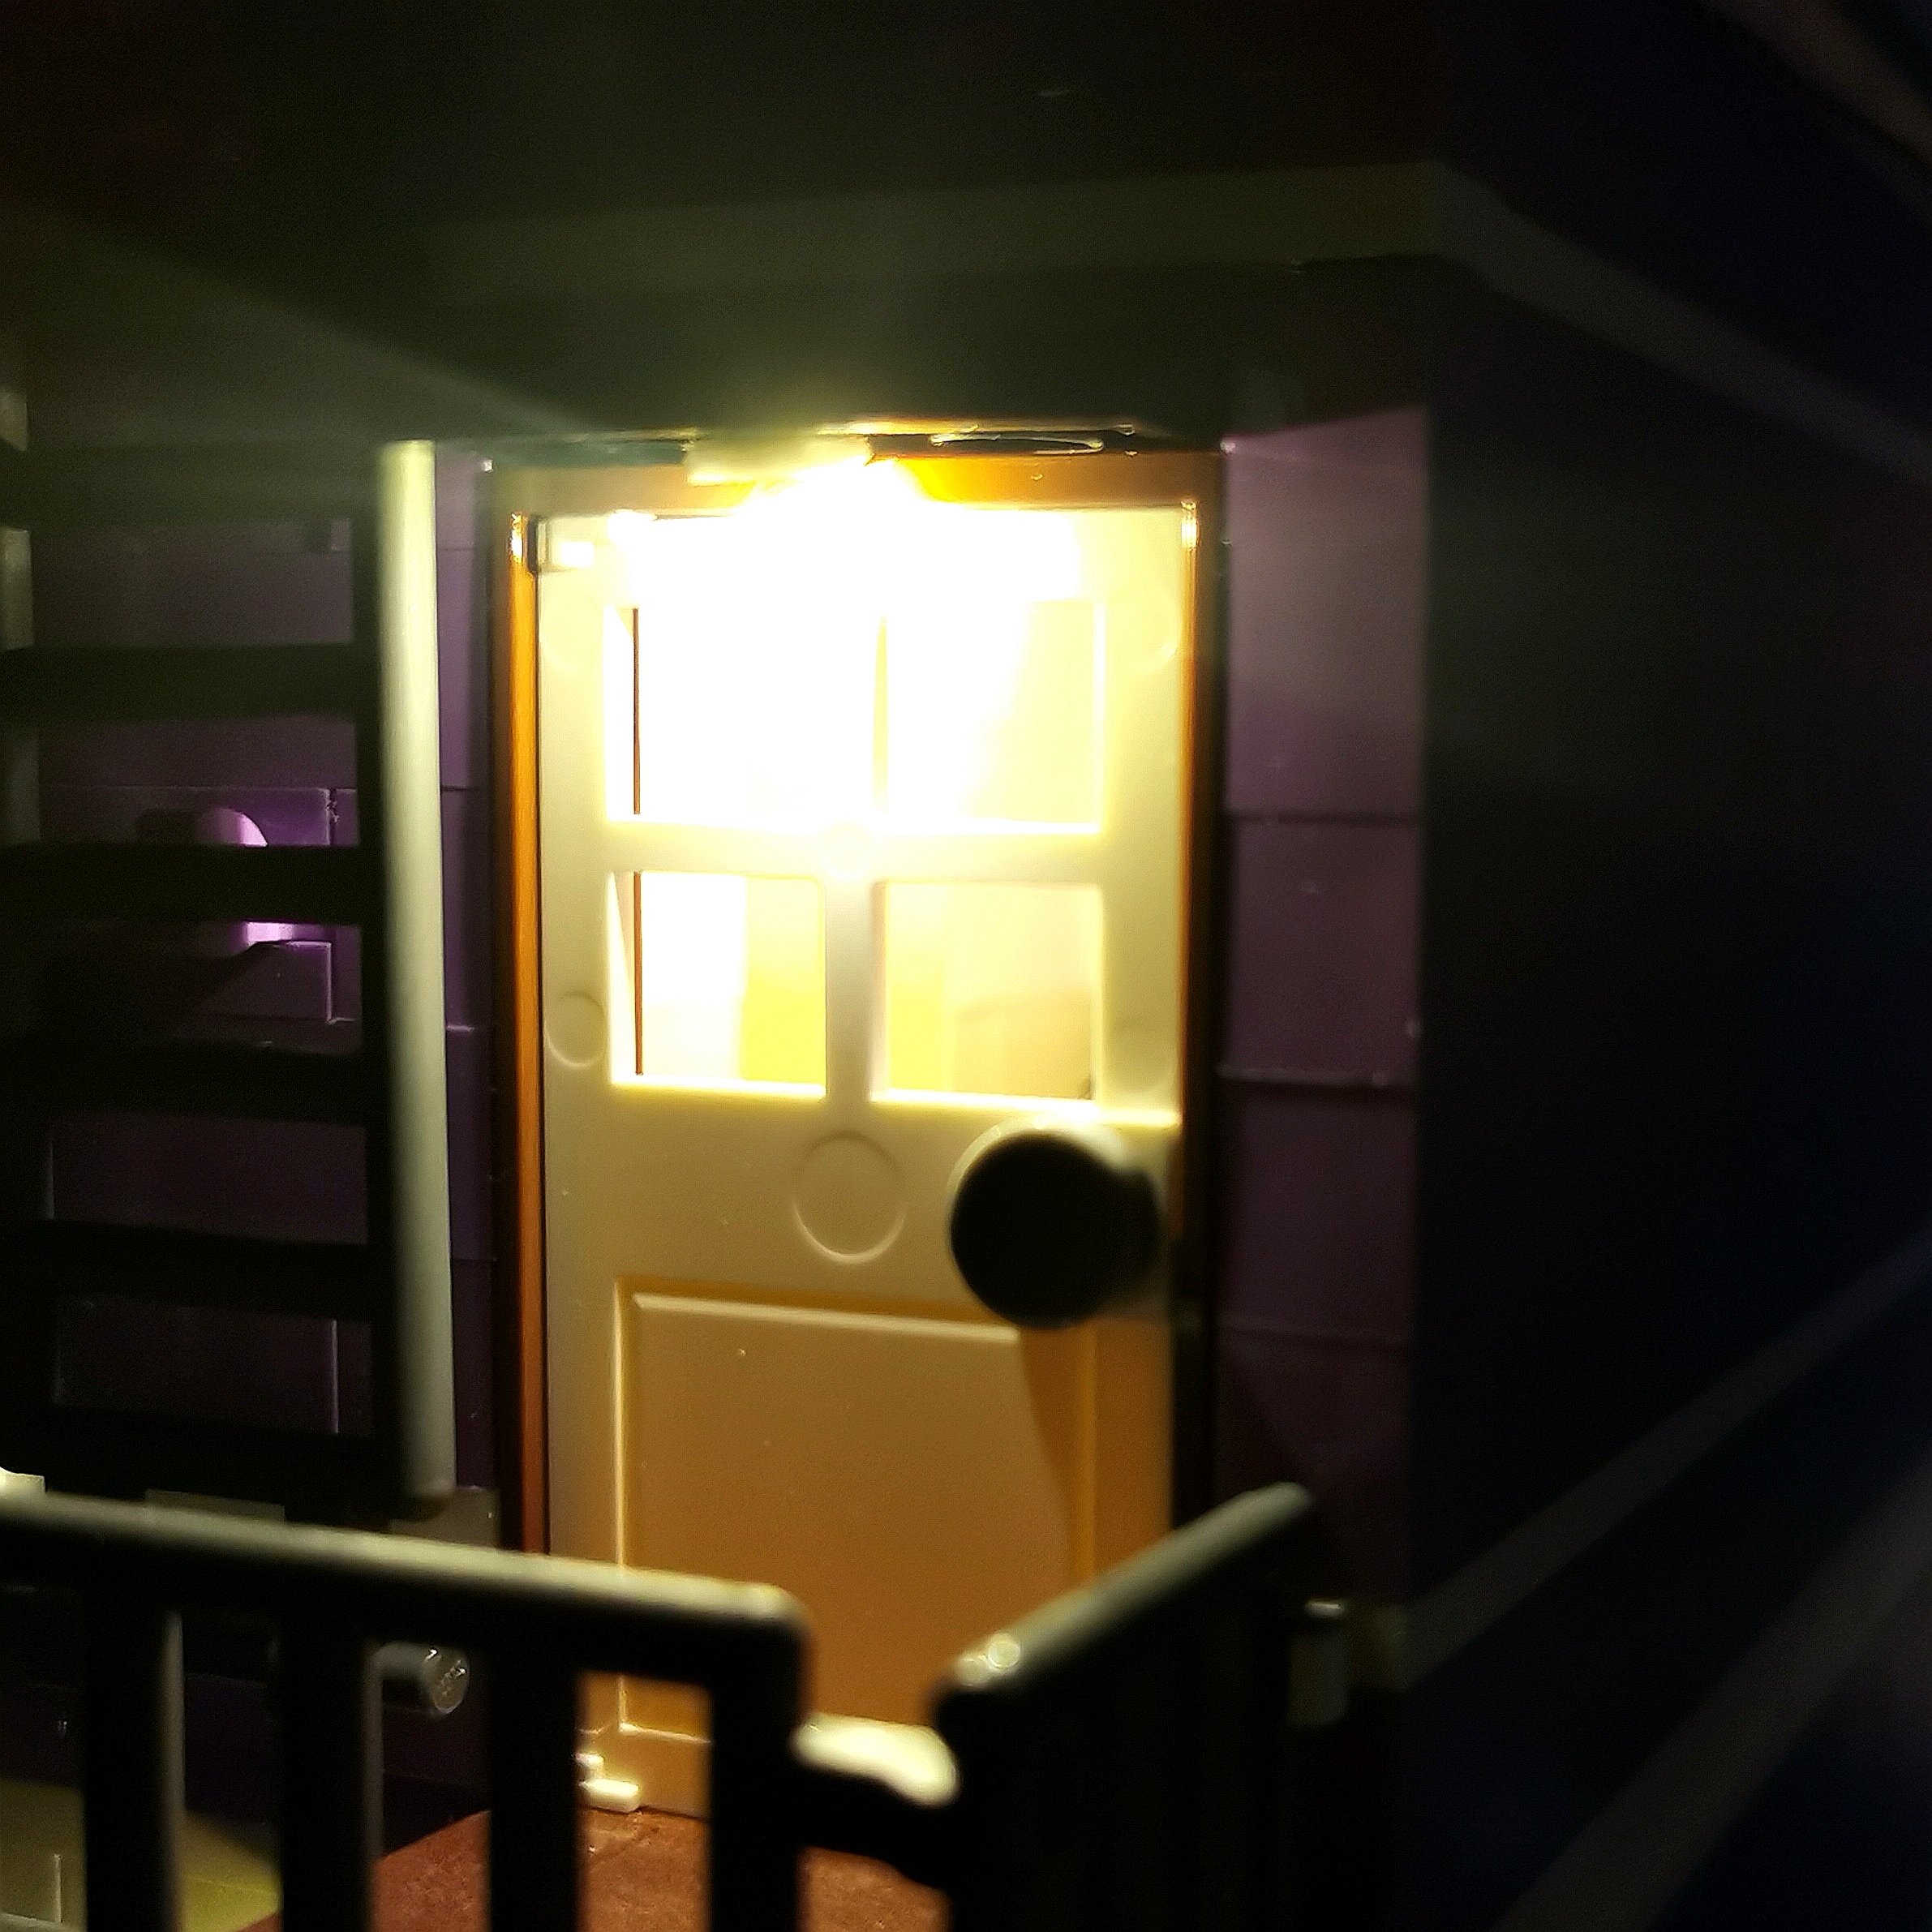
The very first part we add a light to is located on the ground floor and at the back of the set. A small outside light positioned to the right of the back door, the whole process of fitting the light means we need to ‘lift up‘ part of the door way, this allows us to thread the very thin wire through the gap and secure it in place between the LEGO bricks.
It doesn’t take too long and before you know it and the very first light is in, ready to be connected later in the installation. Take a look at the short video below for a time-lapsed looked at bag one.
The rest of the bags are very similar, dismantle part of the set, thread the cable through, secure in place, then reassemble. It sounds simple right, as far as the BRIKSMAX LED Light Kit goes it is, having bigger hands than average I found some parts of the process quite fiddly and knocking other bits of LEGO off as I went, these LEGO Modulars are known for being a tight squeeze.
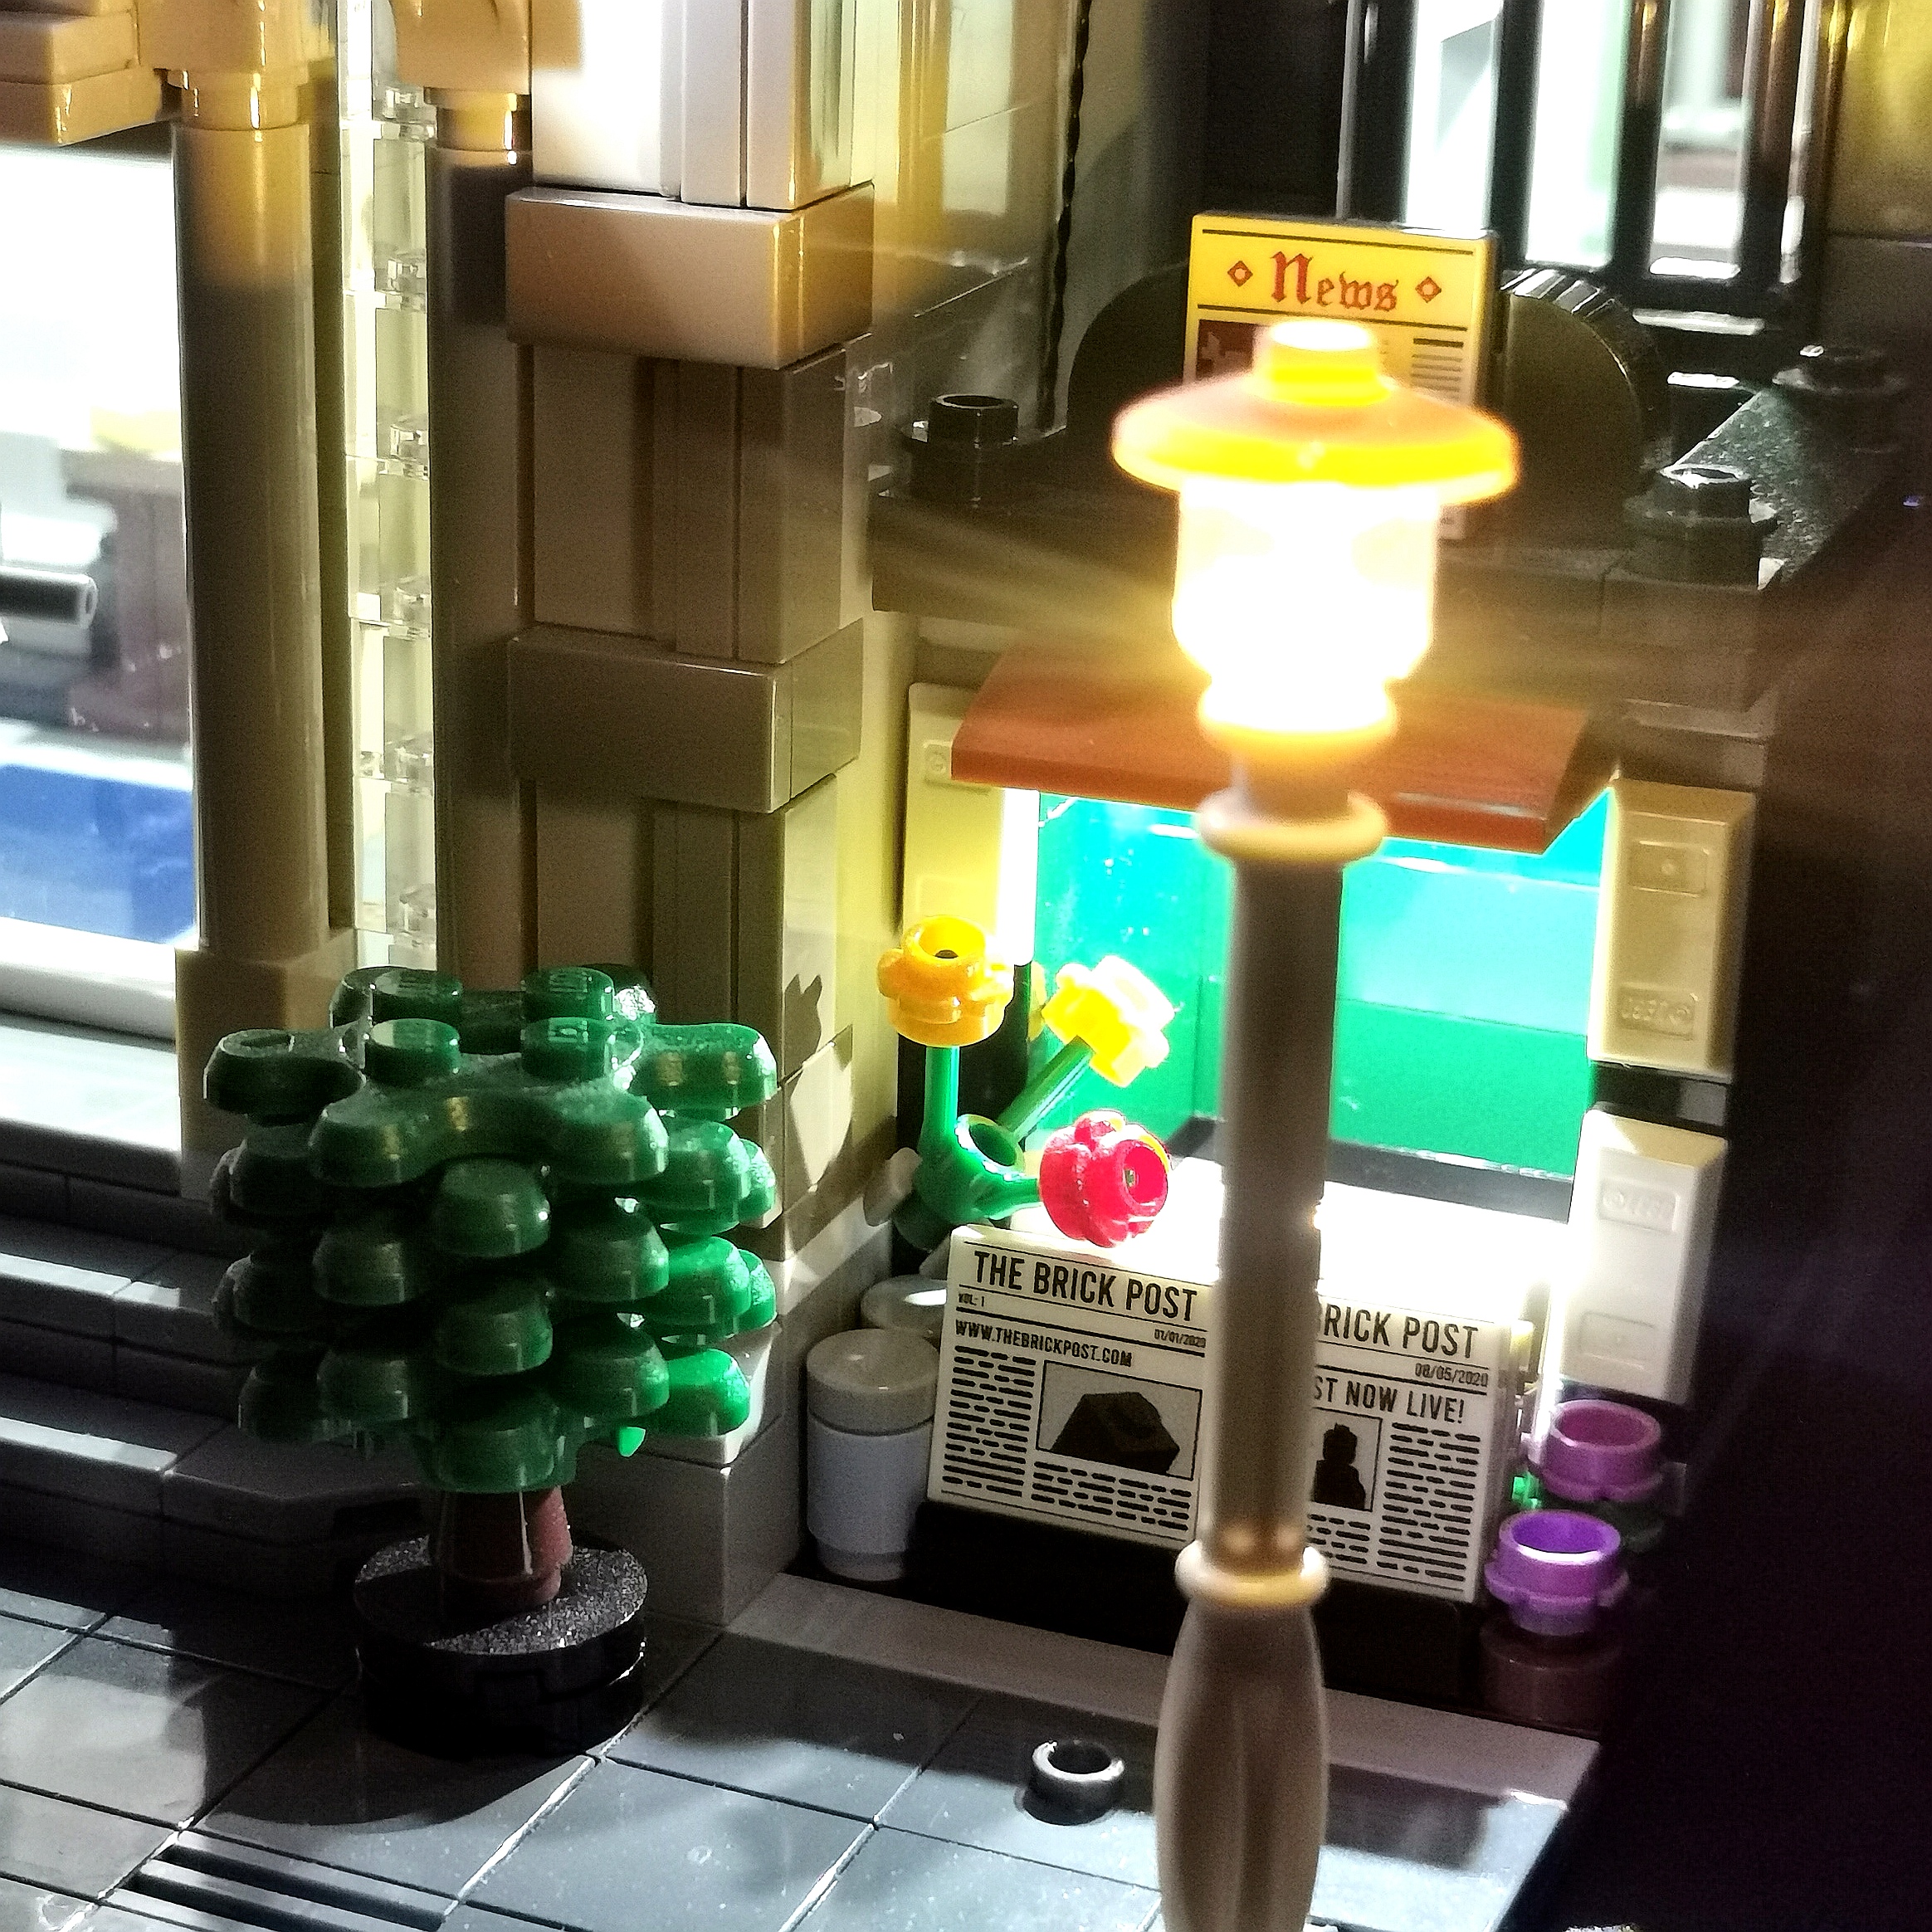
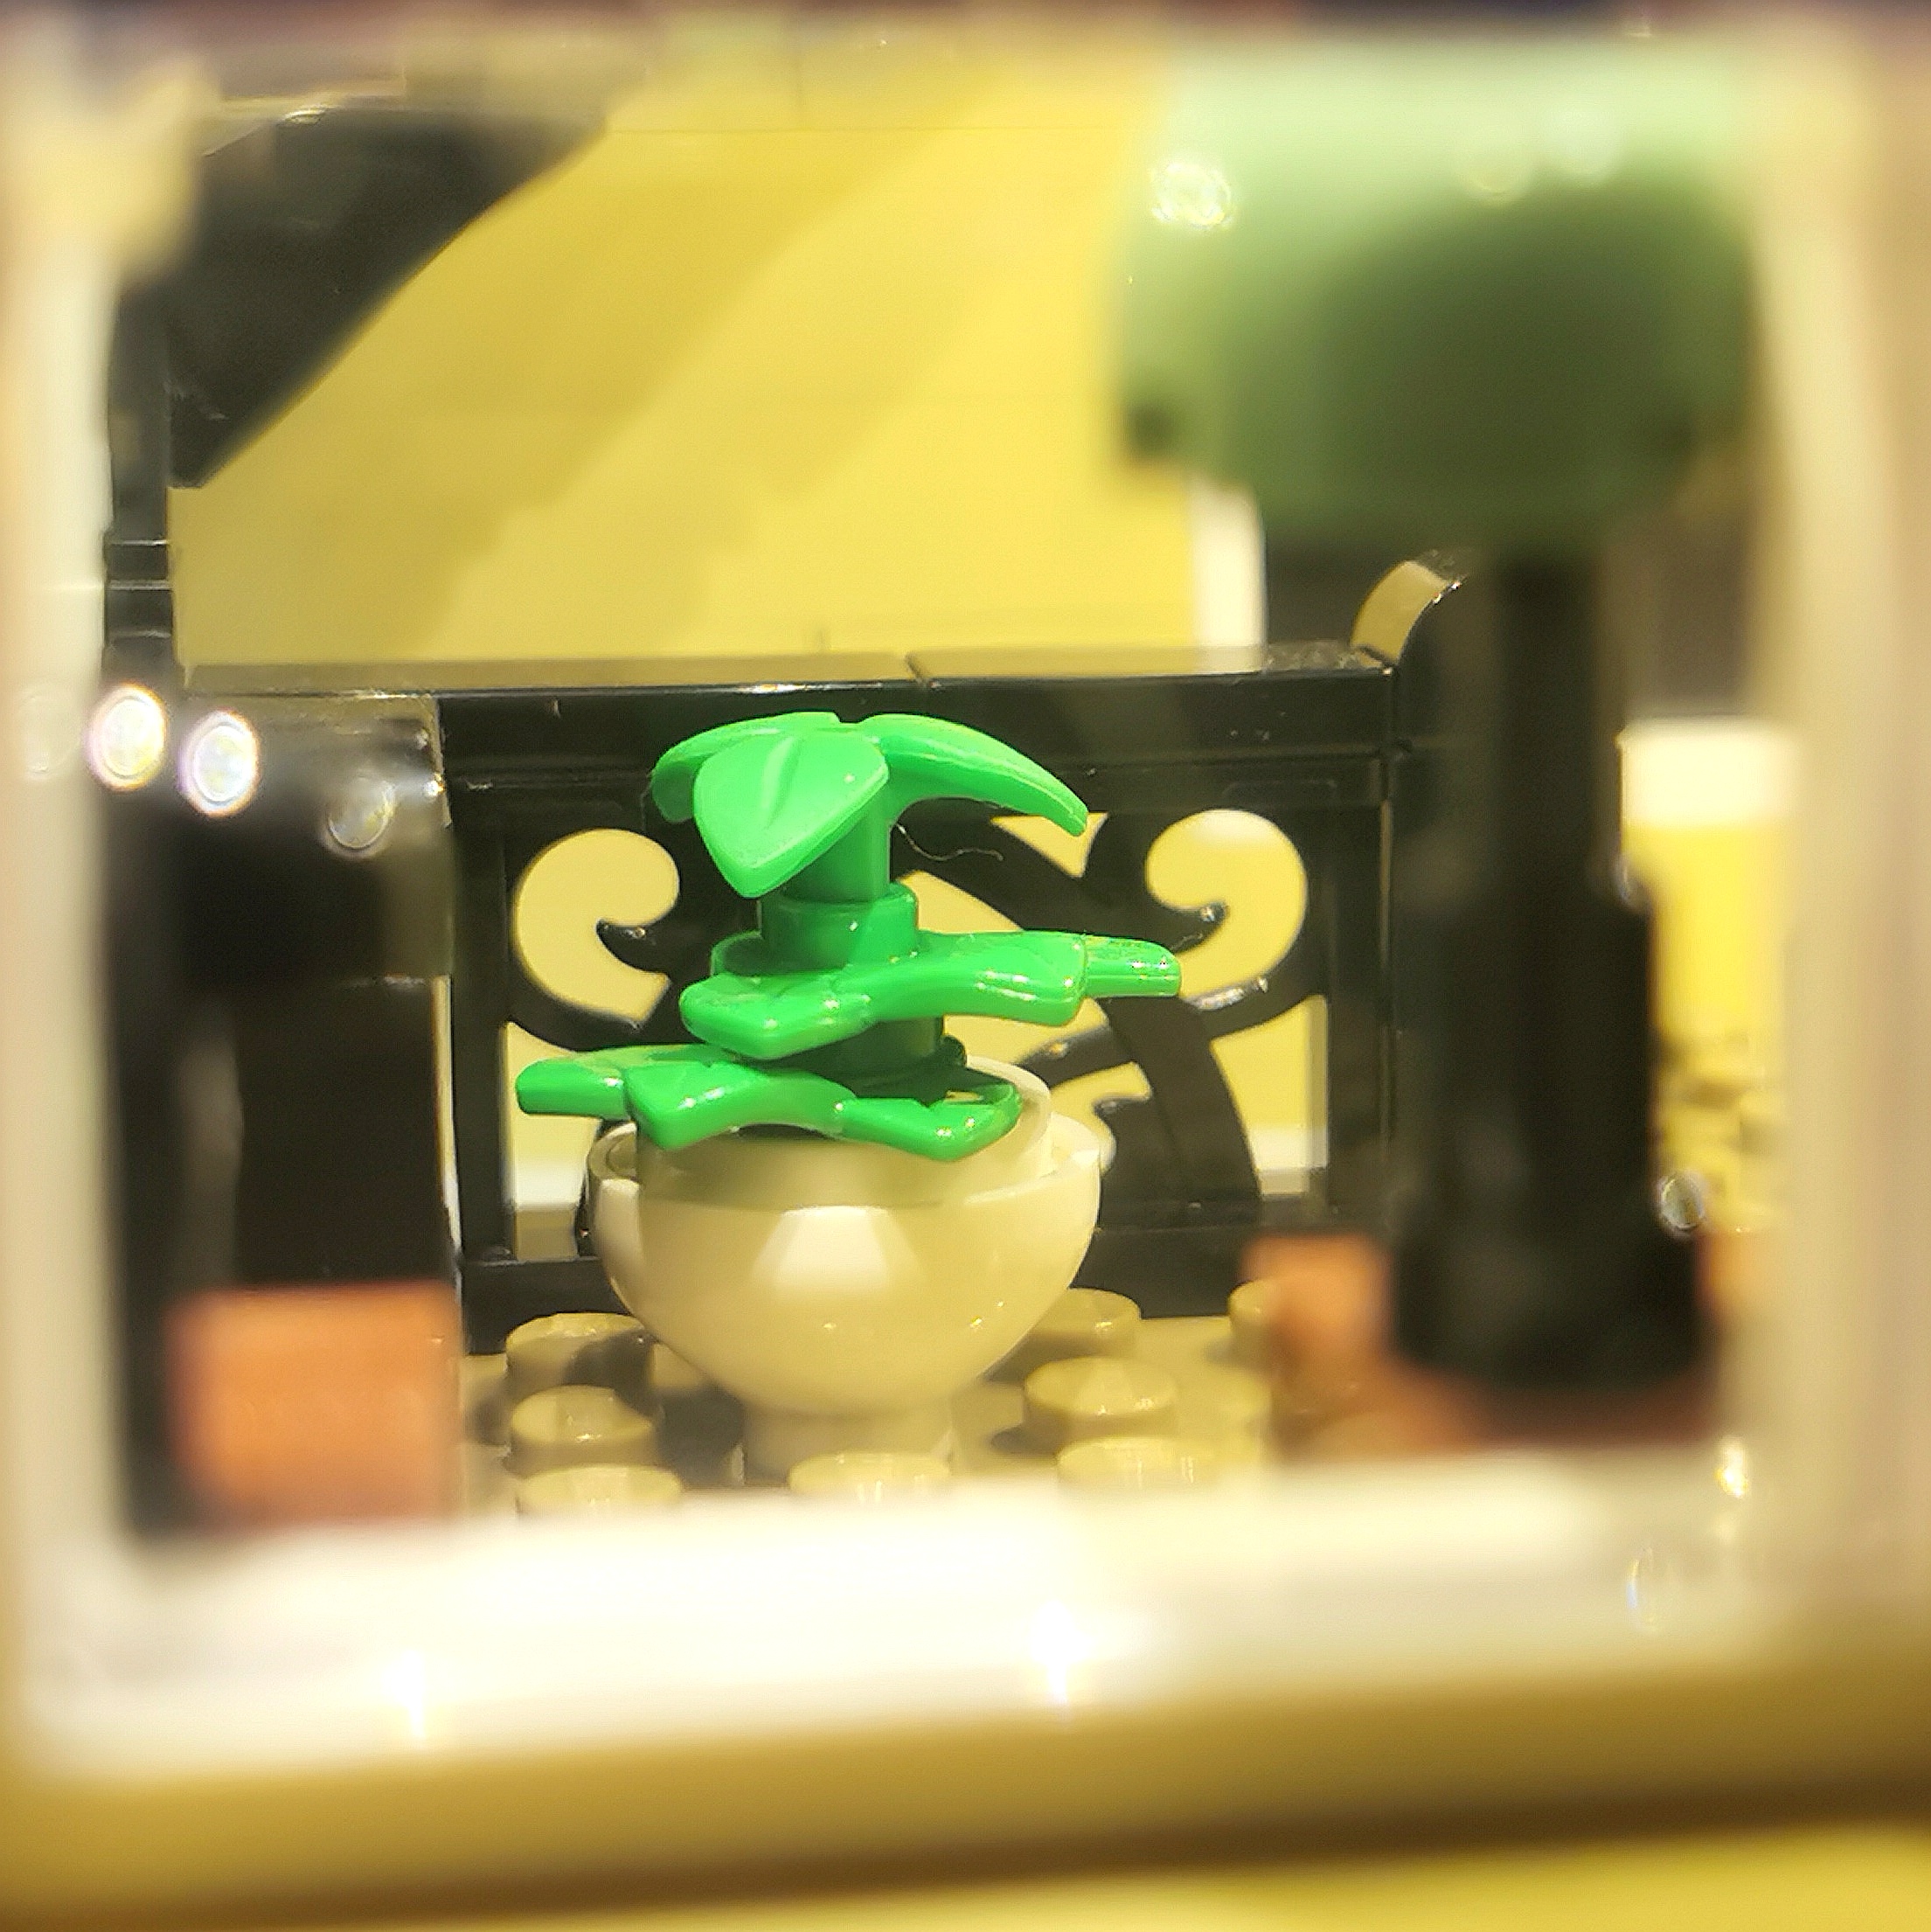
I would like to draw your attention to the BRIKSMAX pre-fitted lamppost that comes with these light kits for Modulars. I did wonder before receiving this kit as to how the lamppost would work and I was quite relieved when this appeared in the box.
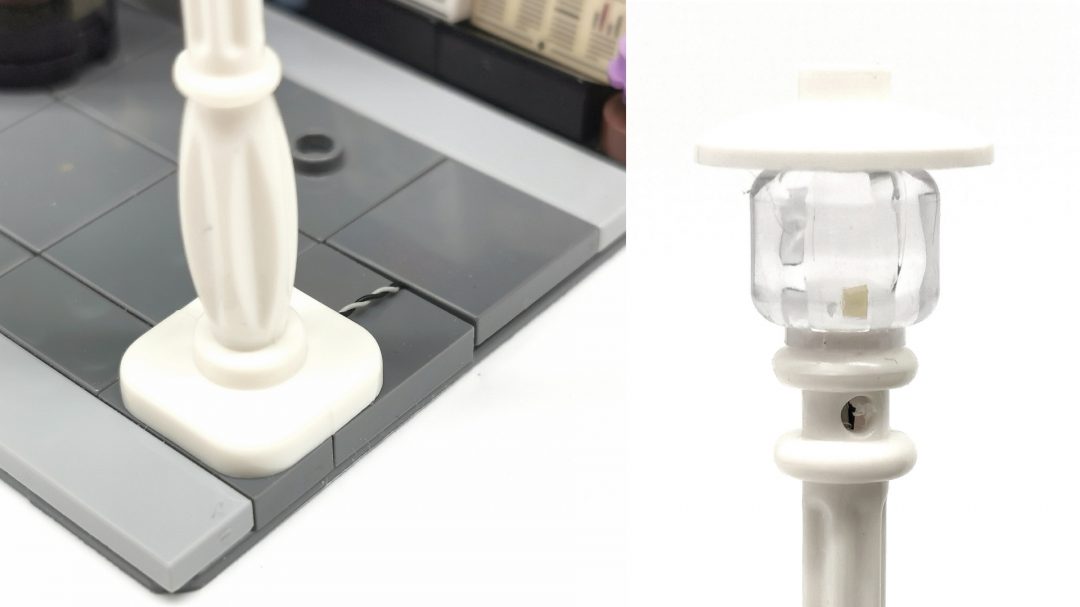
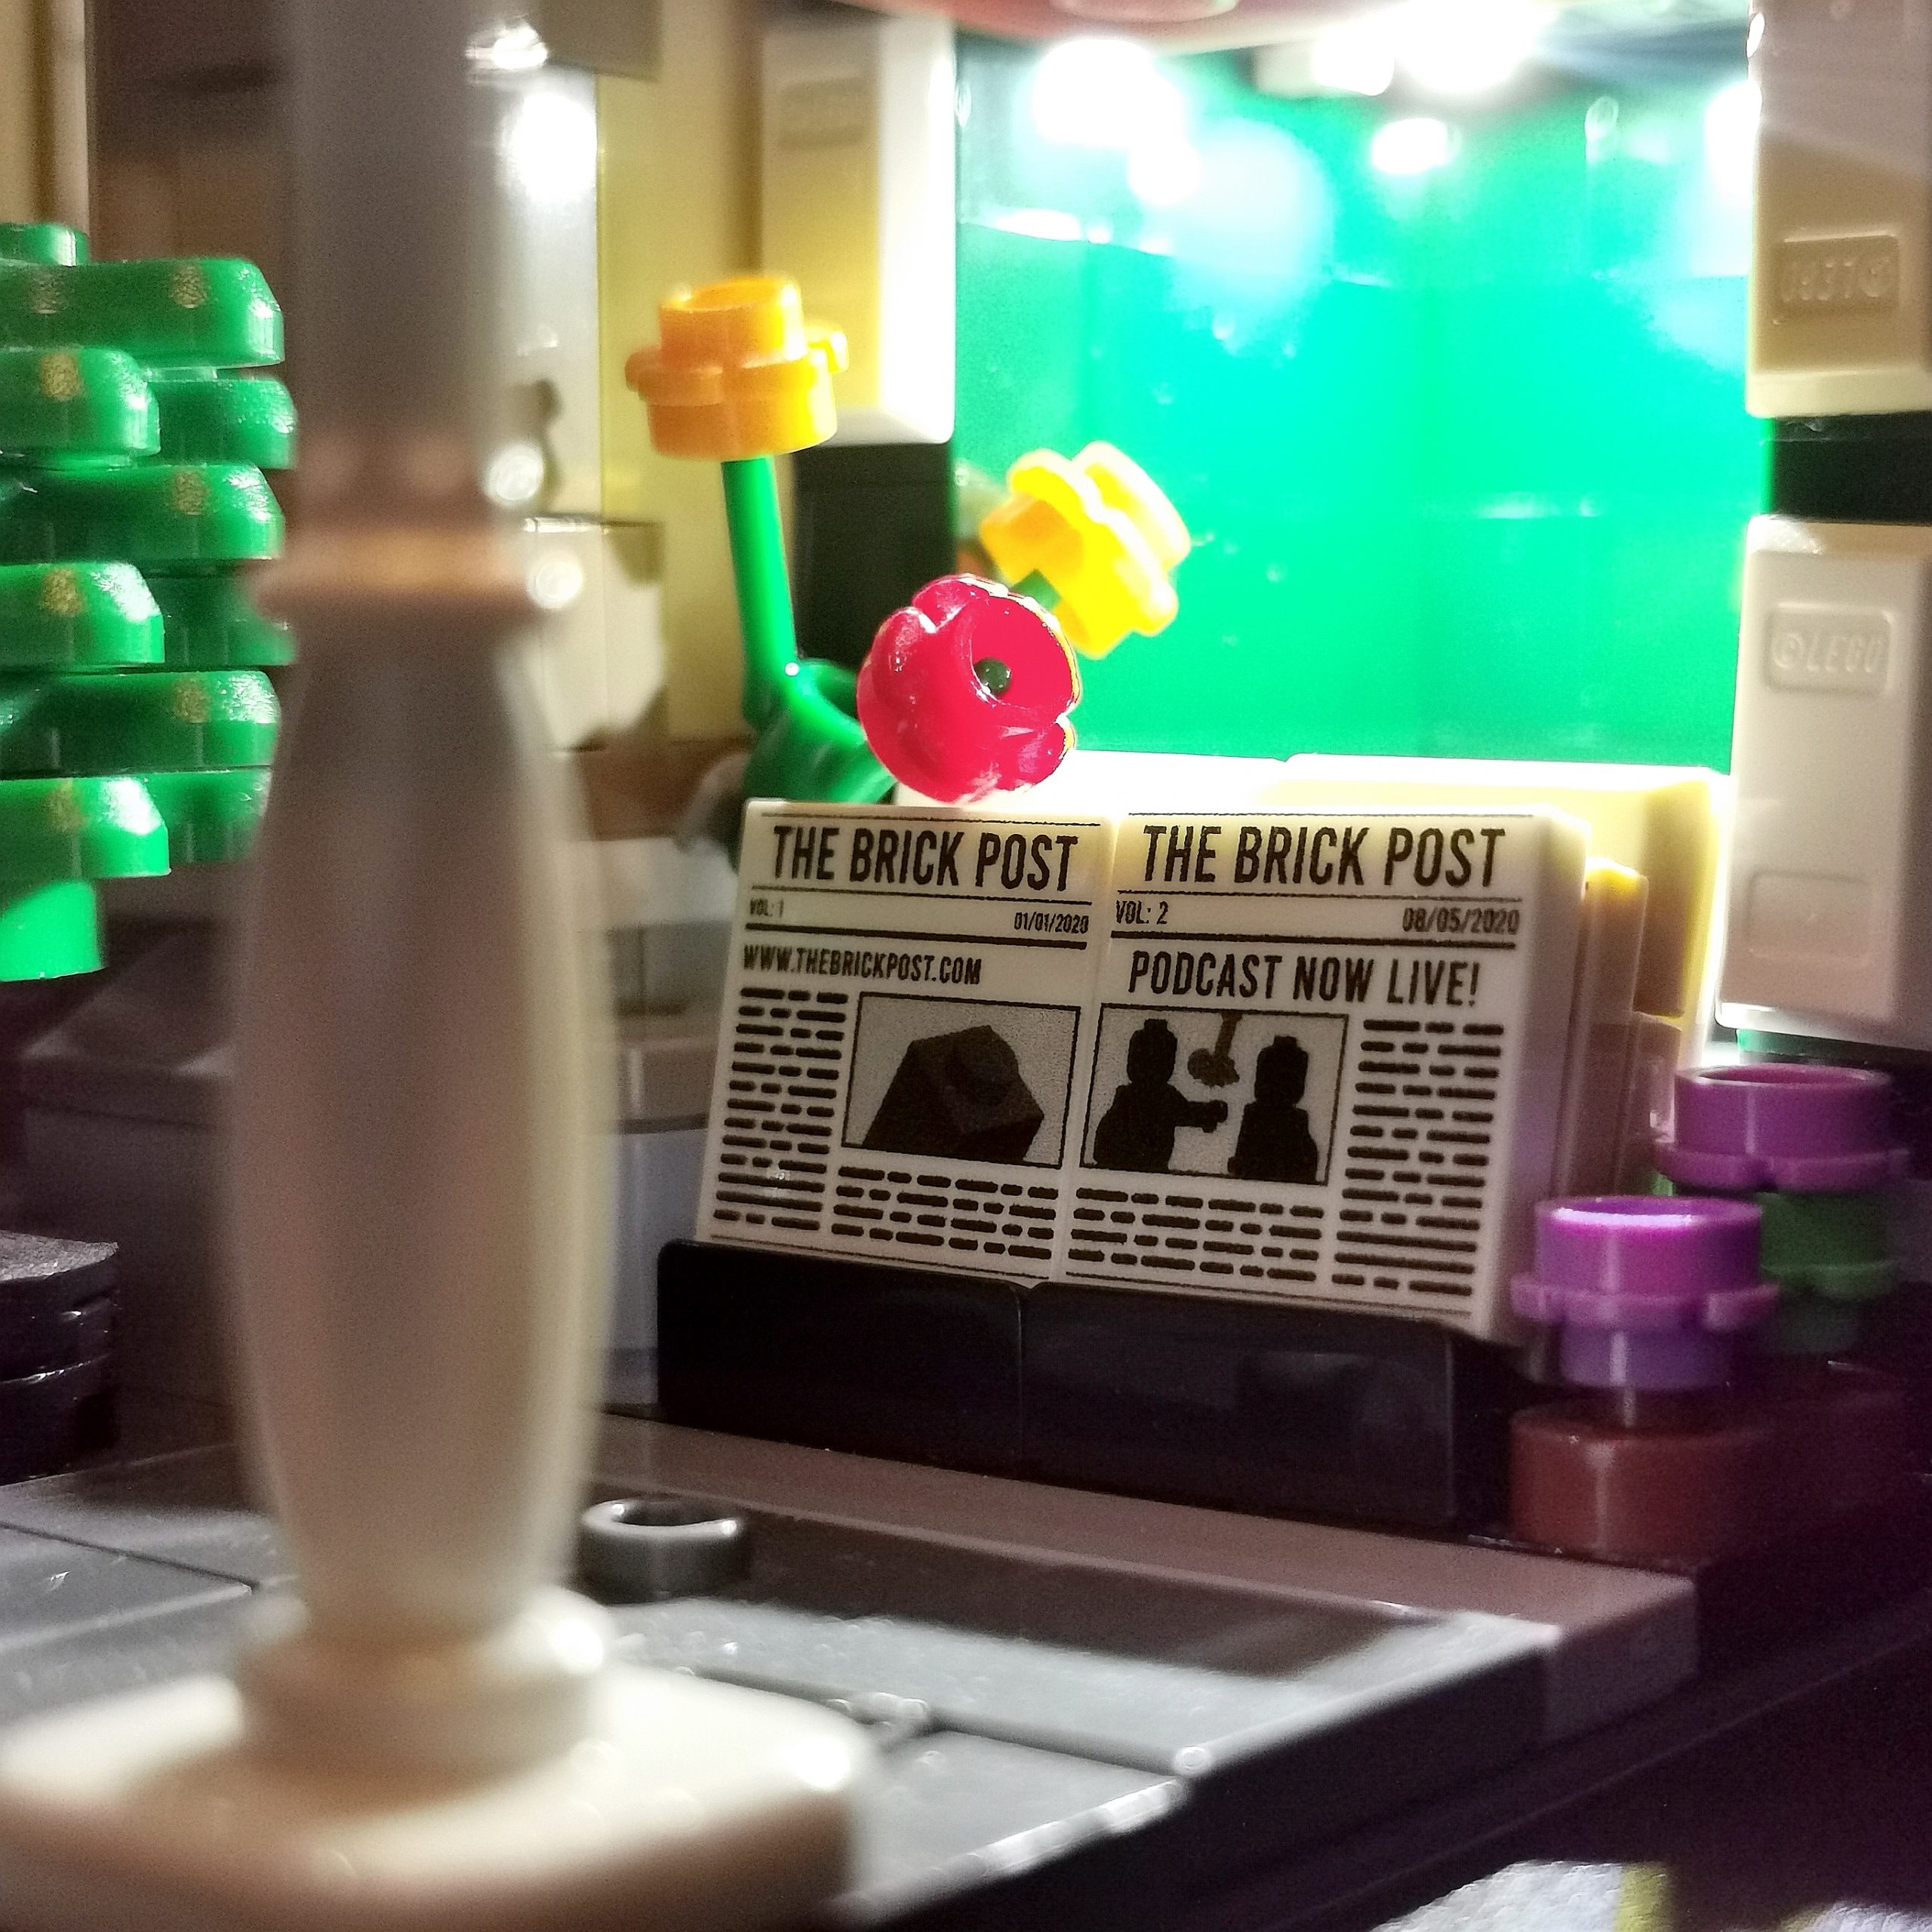
Inserting this in the set was again very straightforward and made perfect sense in the included instruction manual. Lifting up some of the LEGO tiles and a portion of the Newspaper stand was all that was needed, followed by running the cable up the wall and into the ground floor.
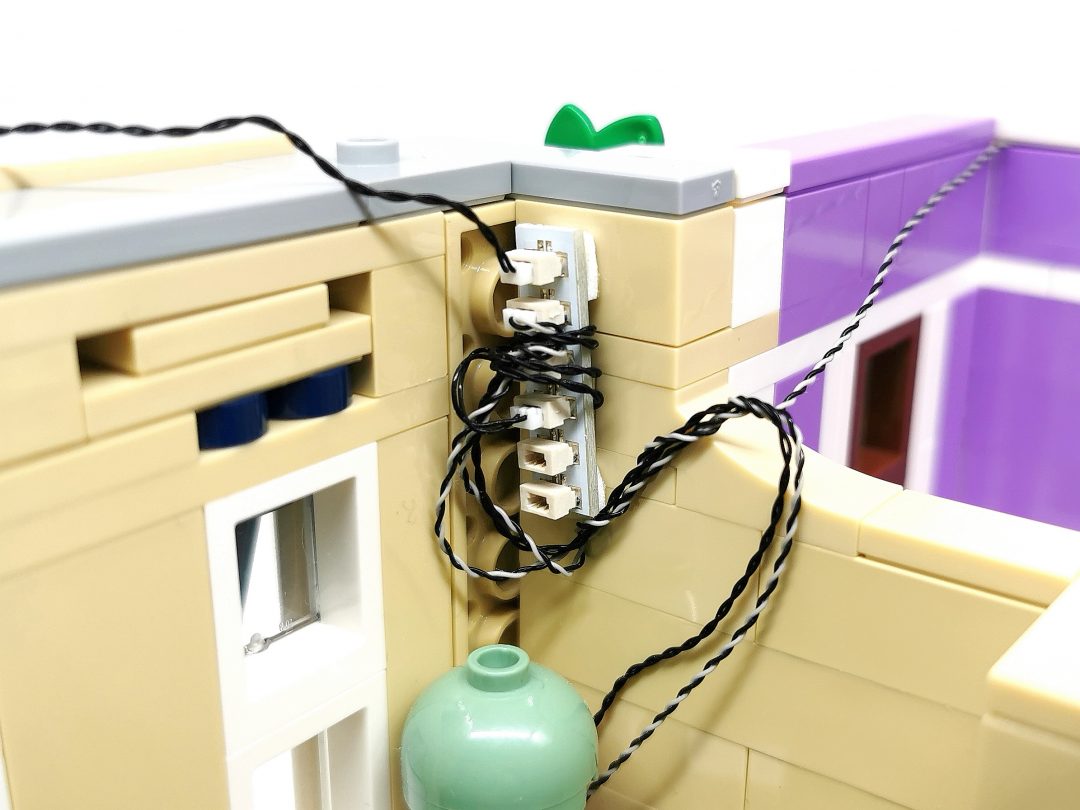
This is where the ground floor junction box is, or that’s what I call it anyway. Its size and look could easily be an overloaded extension socket for LEGO Minifigures!
Ok it does look a little messy, but that is part and parcel of having a light kit installed, there are bound to be cables and other bits & bobs on show.
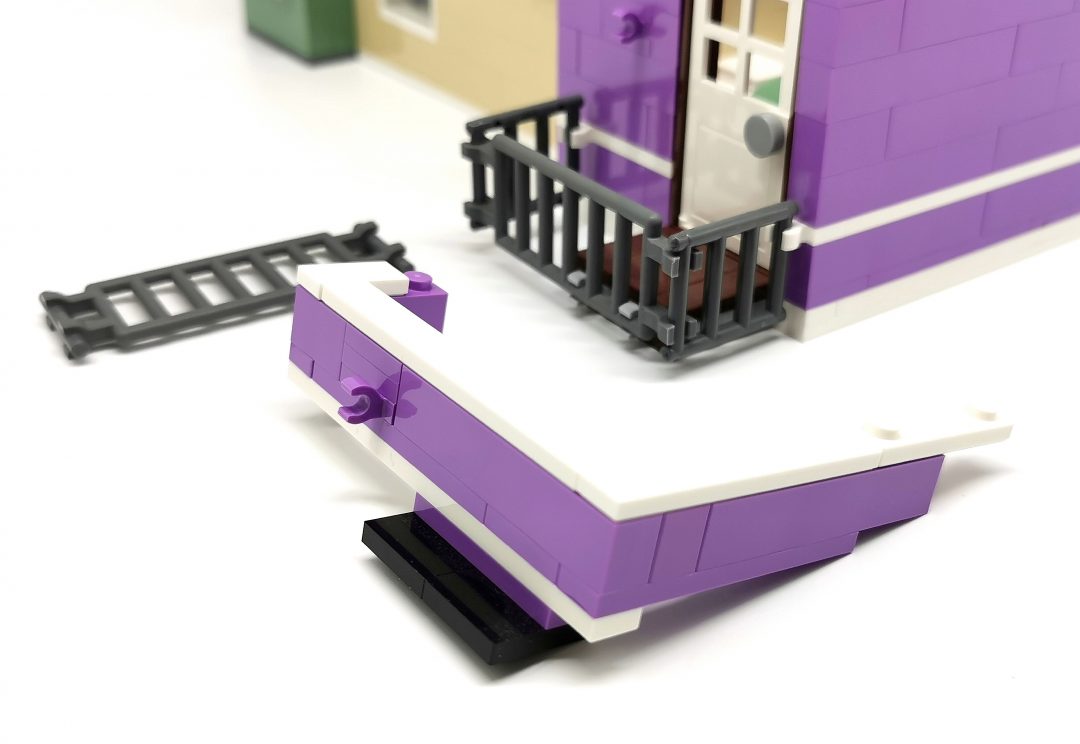
Perhaps the biggest chunk of the set we had to remove was located on the first floor (middle section), taking off a portion of the door way to fit a bulb to the underside of the small porch and the overlooking ladder and landing.
This fittings are a little different here and requires you to use one of the included sticky pads, don’t worry it won’t damage the LEGO, phew. Although if you are concerned then blu-tac maybe an alternative option.

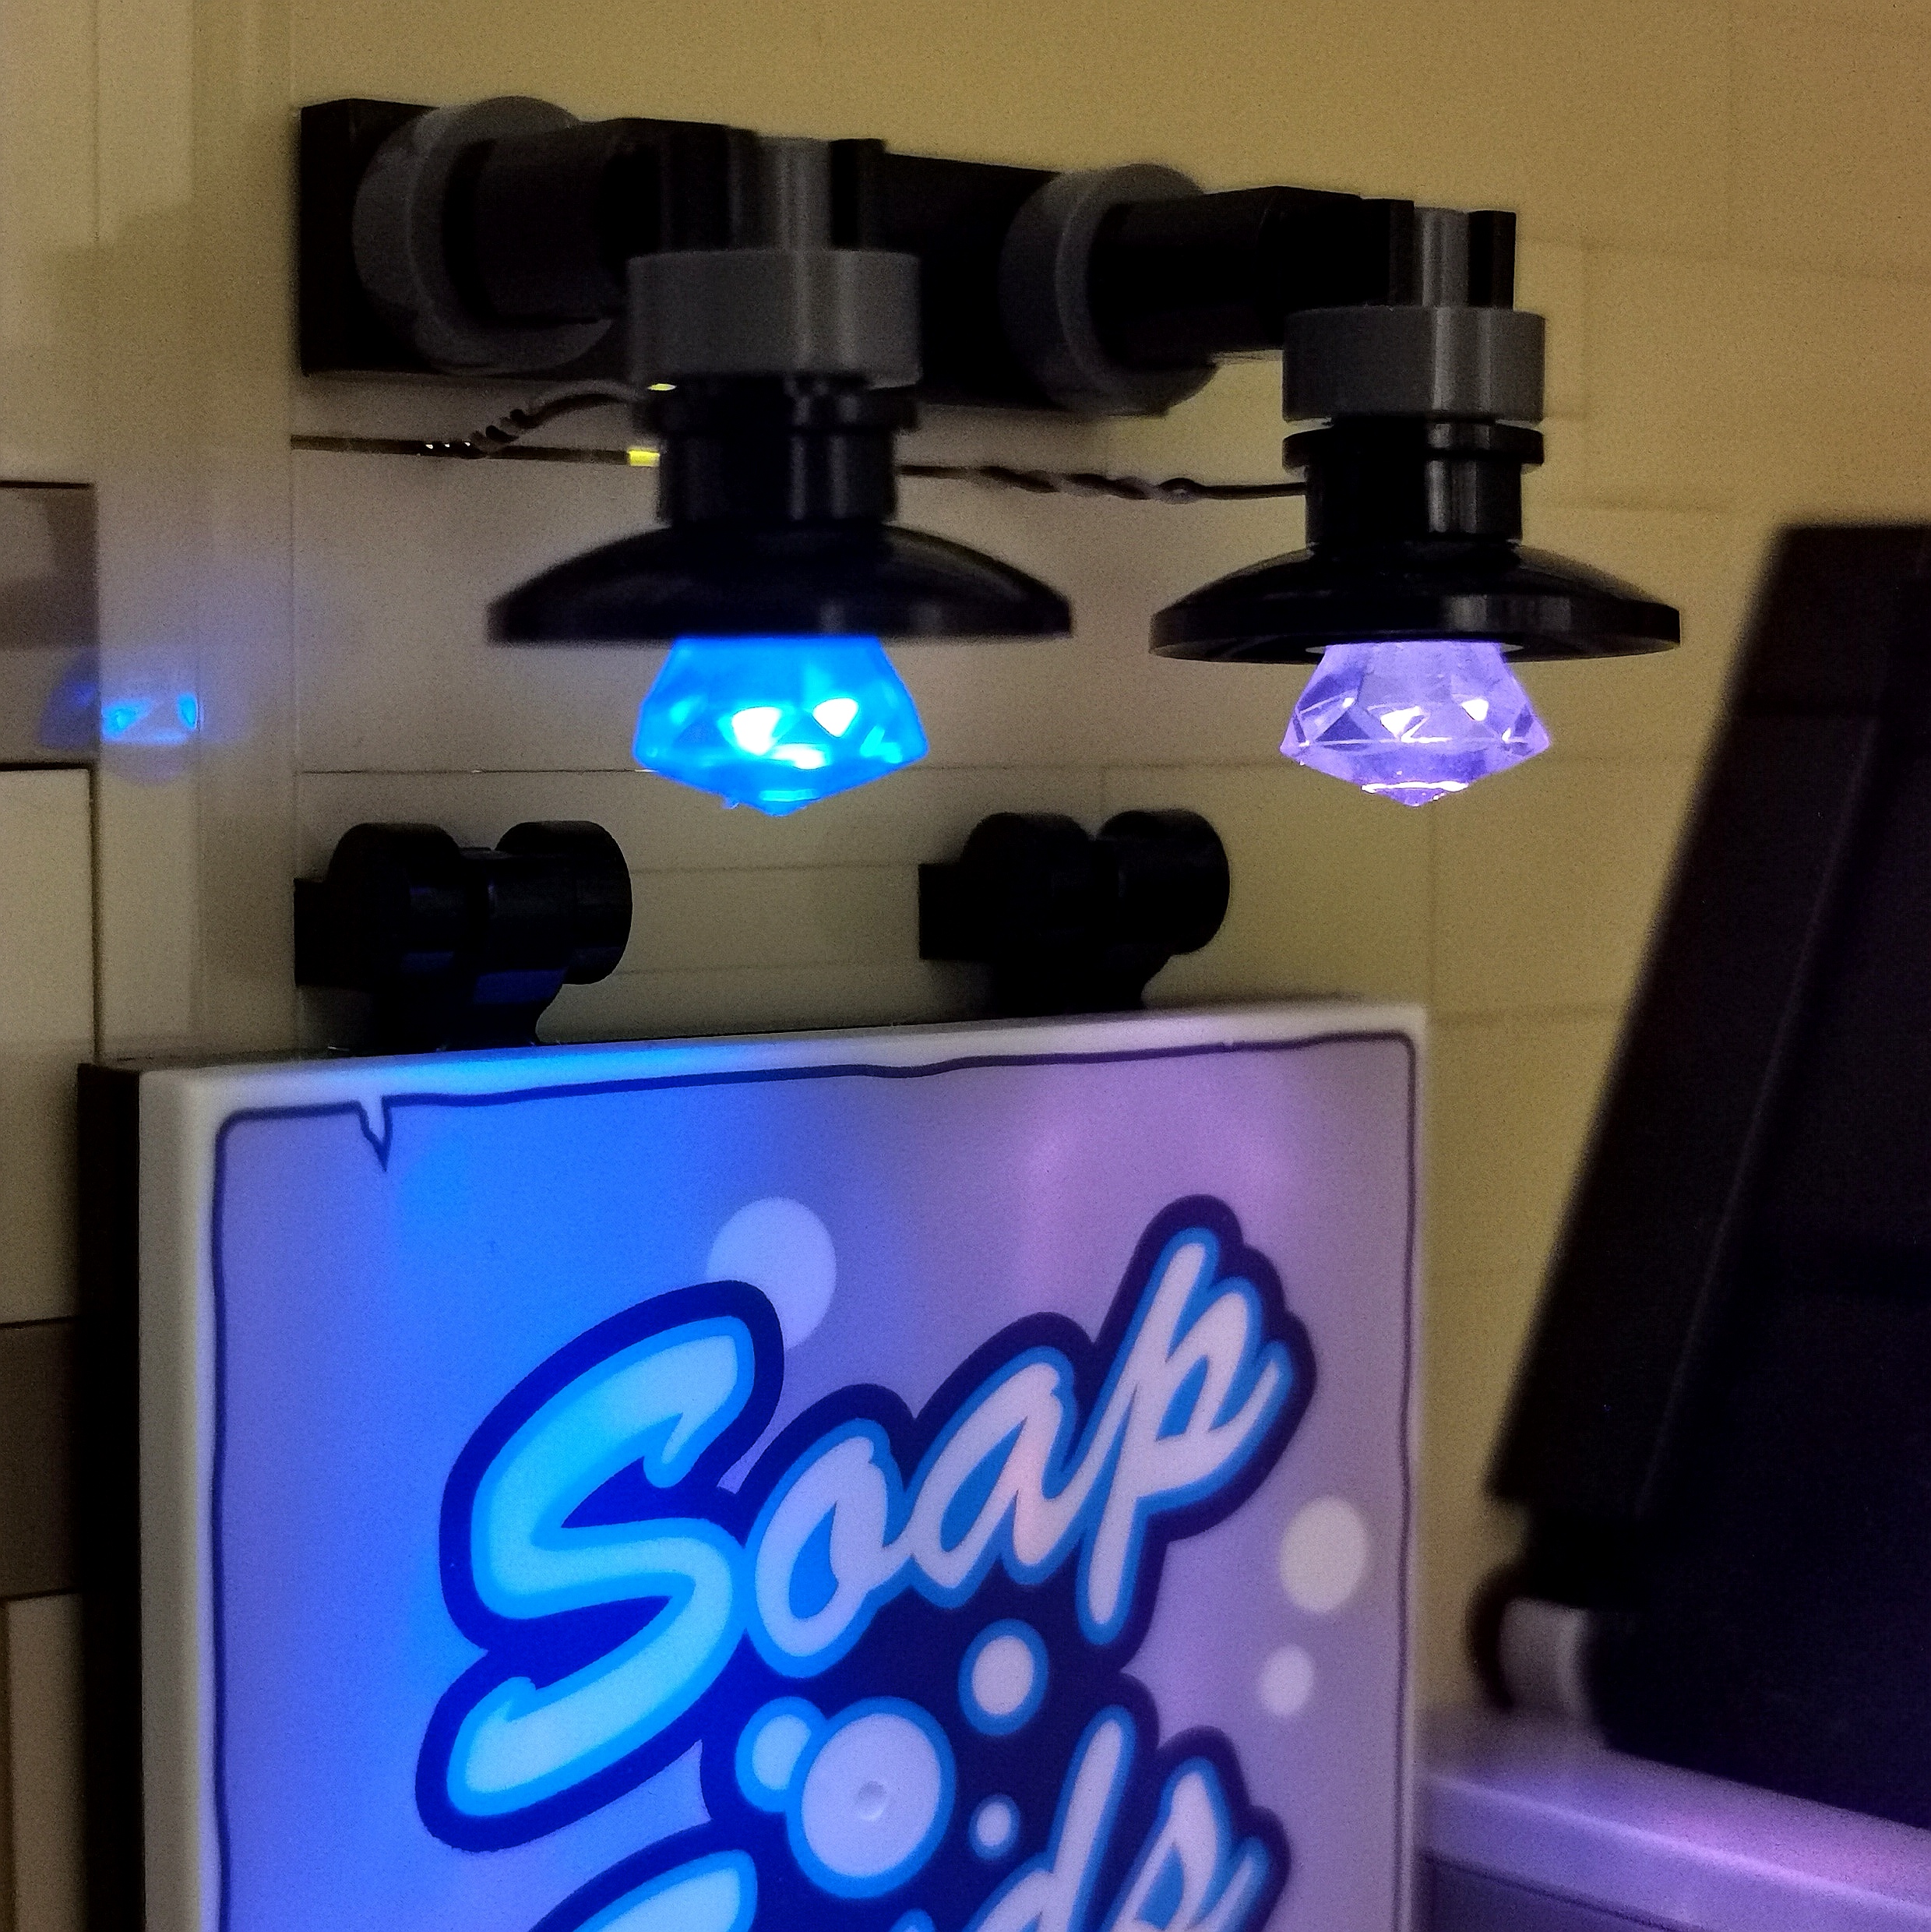
When it comes to fitting bulbs and cables into smaller LEGO elements it can be fiddly and a little frustrating, the that took my concentration the most were the two light ls on the right side of the building that illuminate the ‘Soap & Suds‘ advert.
Being small from the get go was hard enough but trying to hold all the pieces together, including the bulb, and push them back into position was indeed a struggle, but thankfully it was done the whole BRIKSMAX LED Light Kit process was complete!

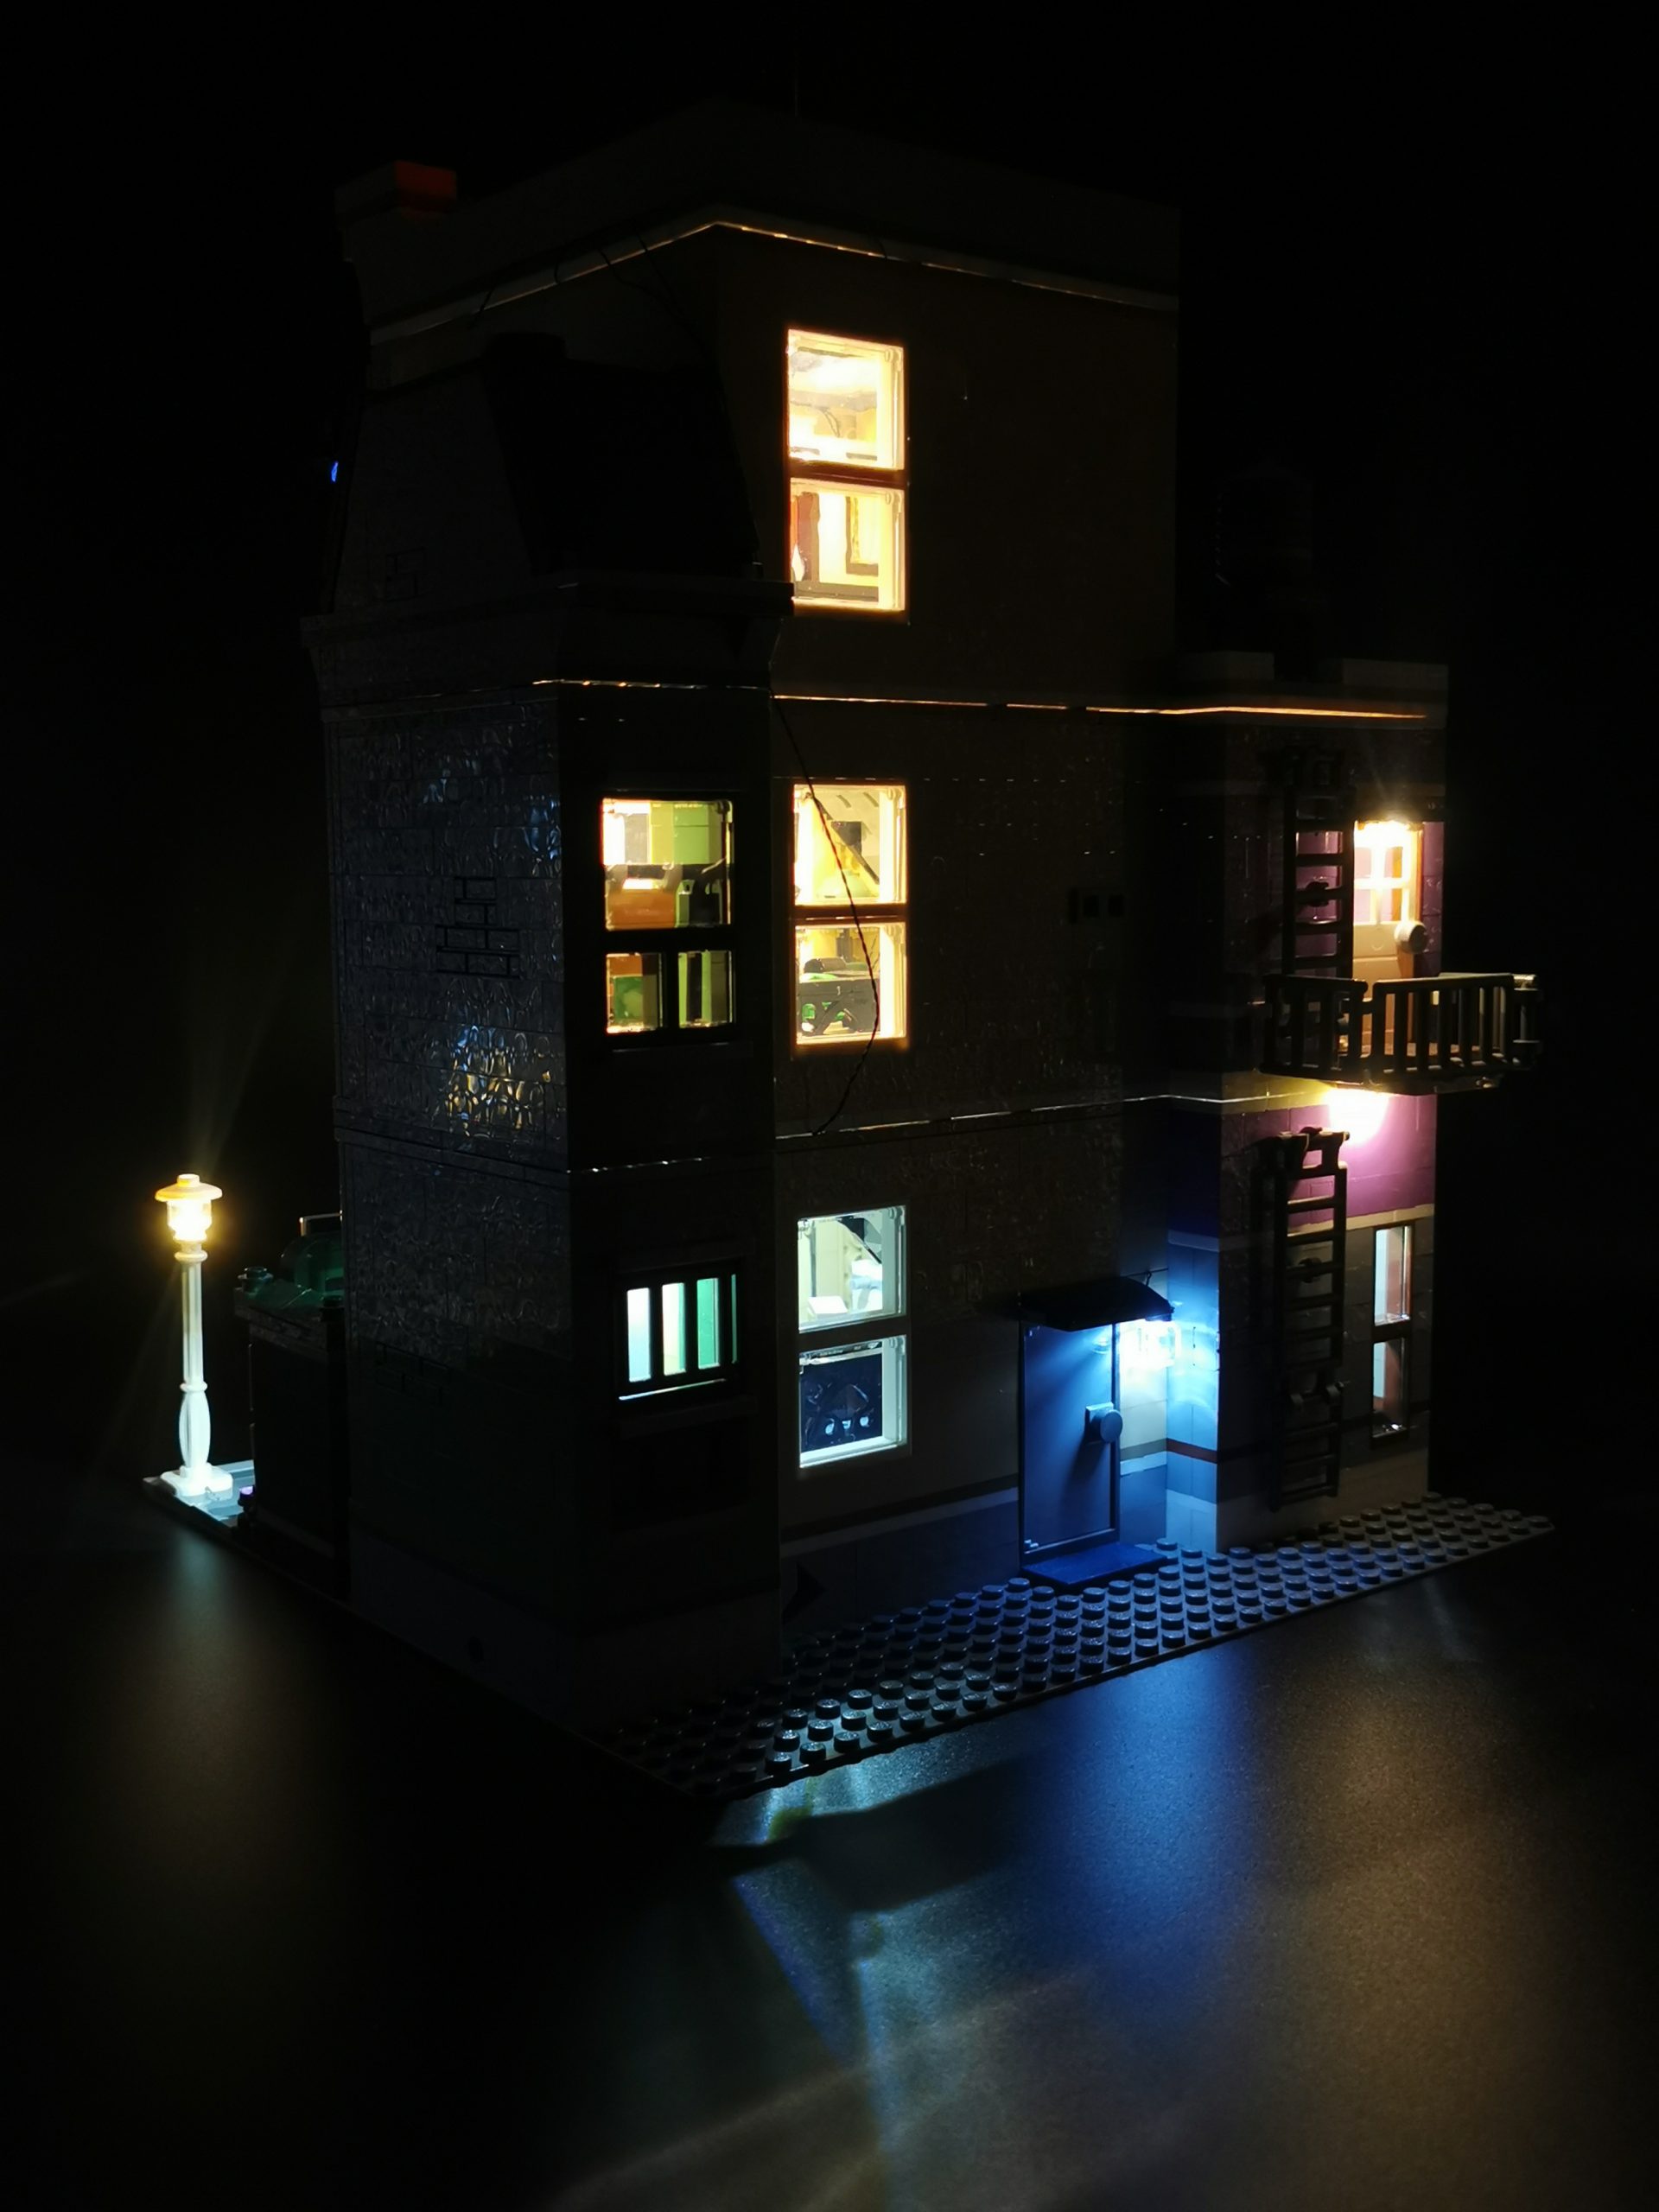
Let there be light:
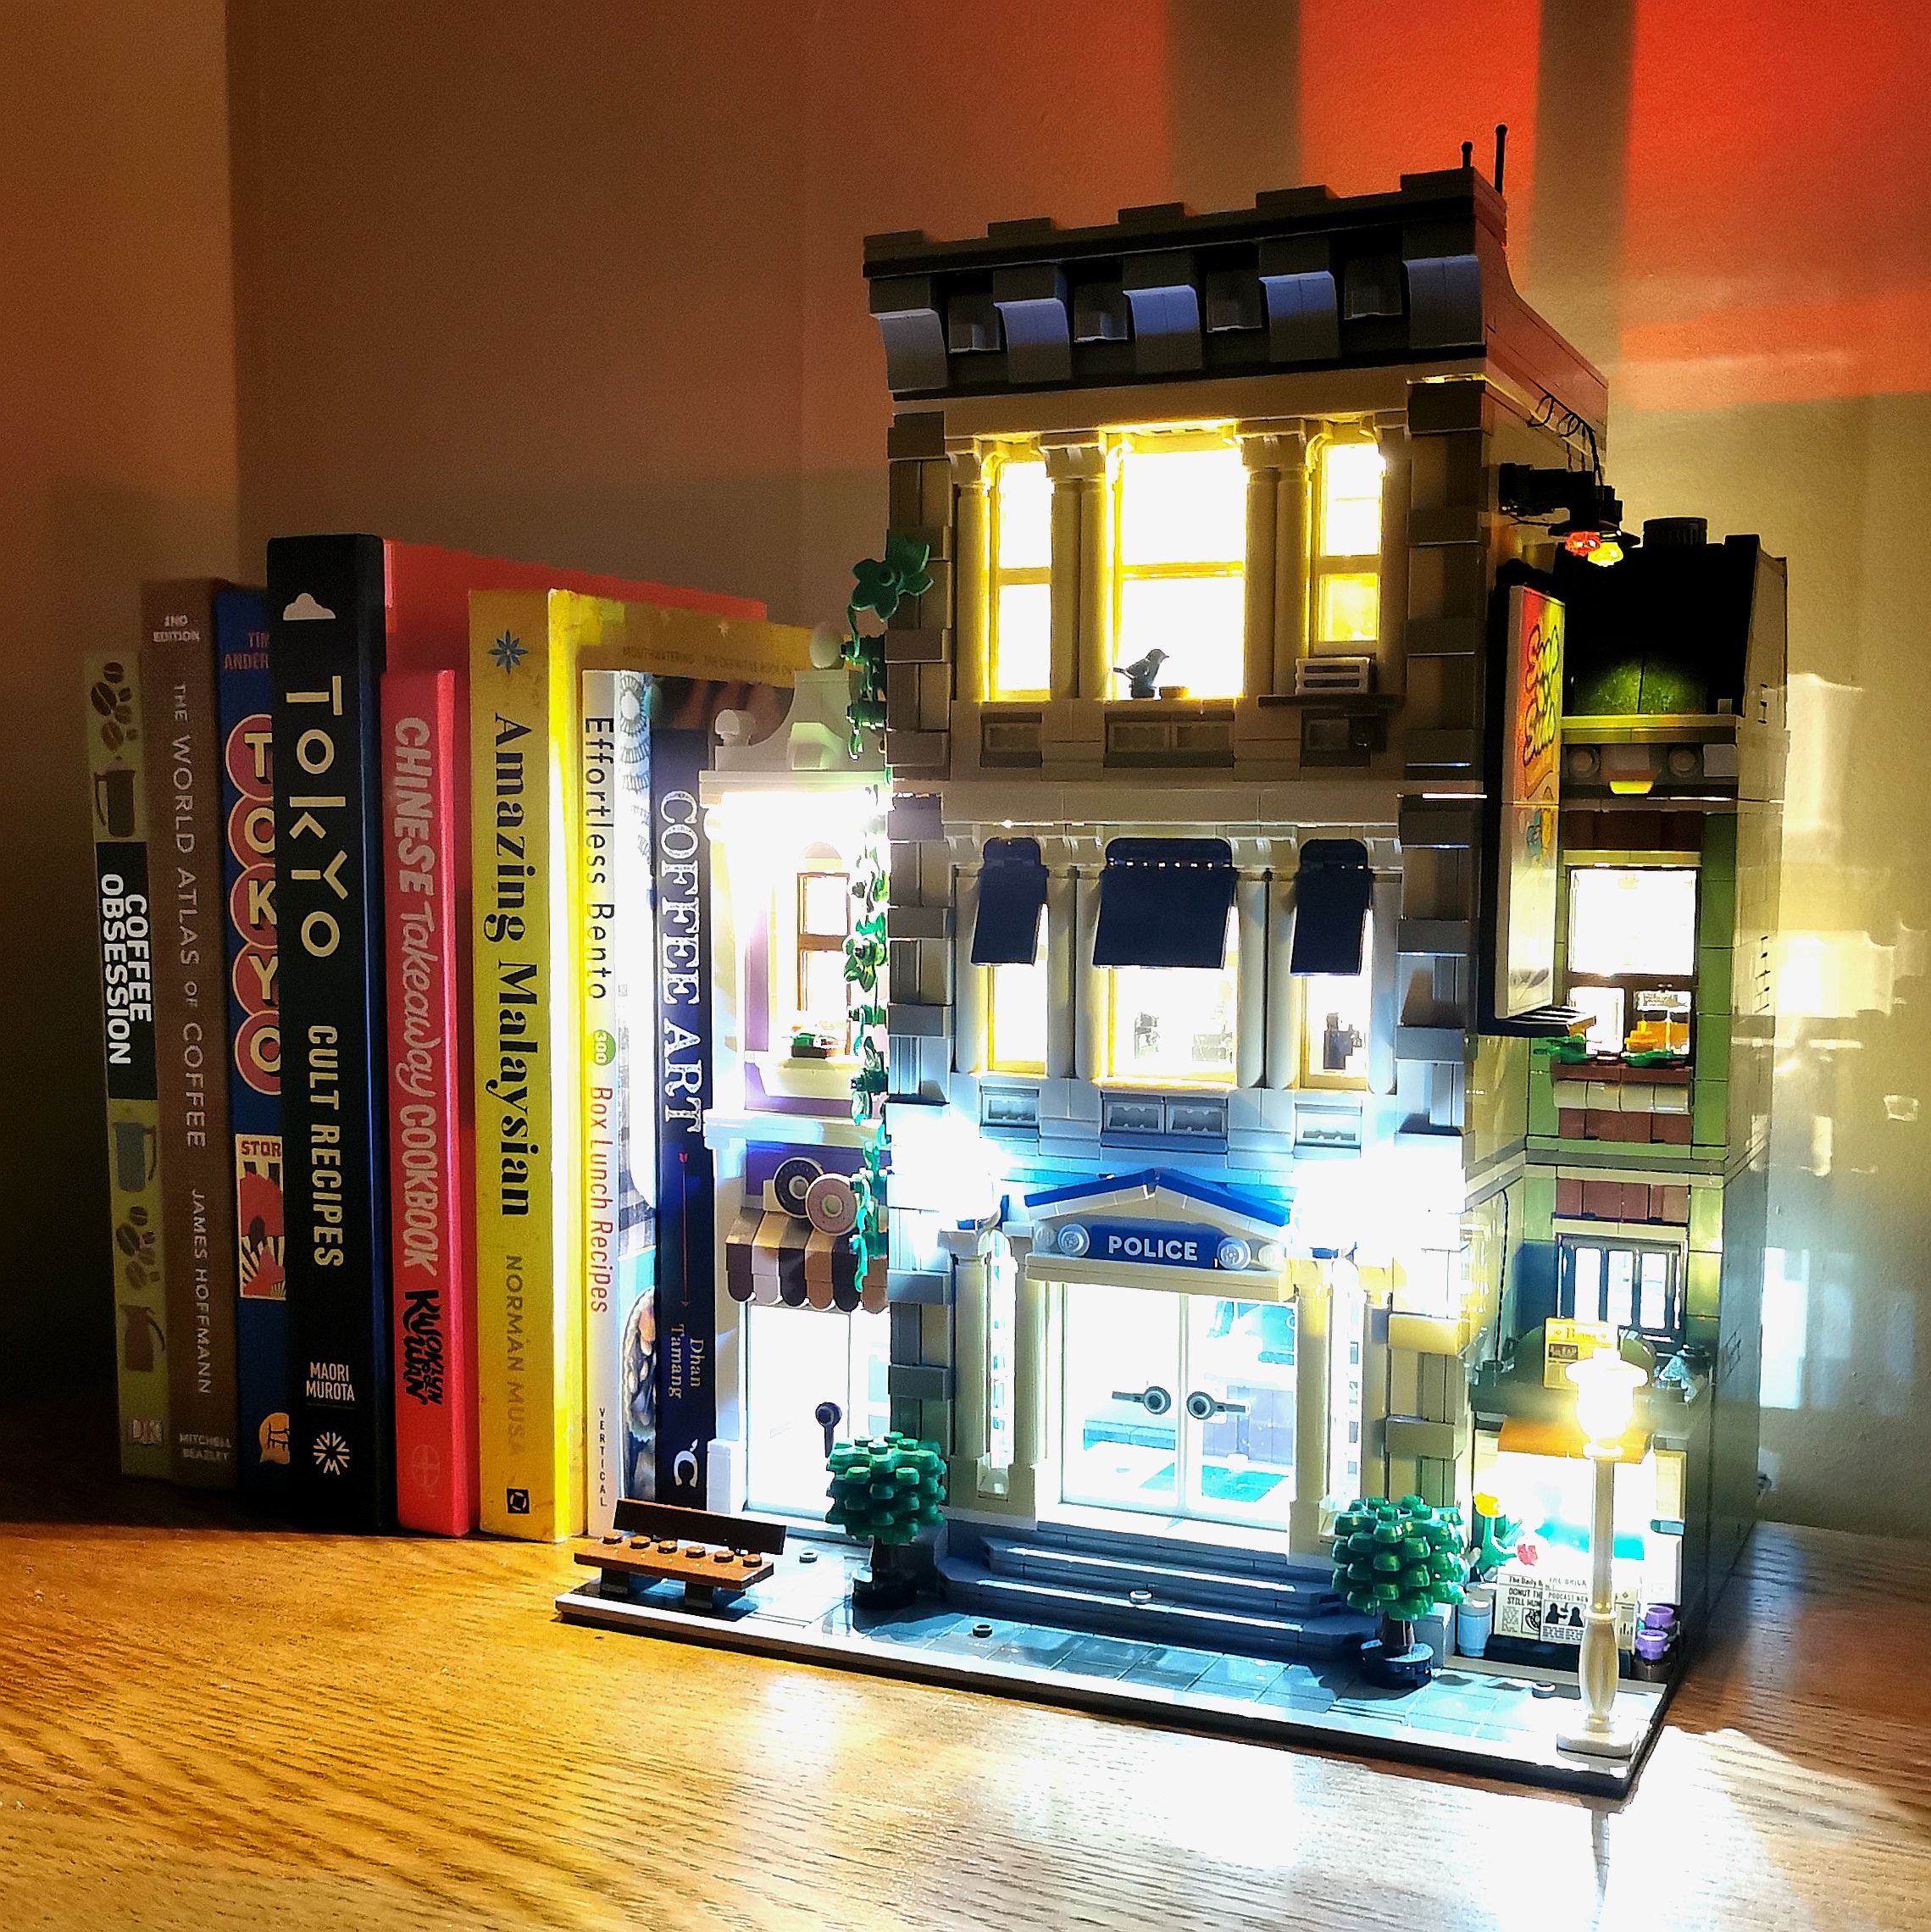
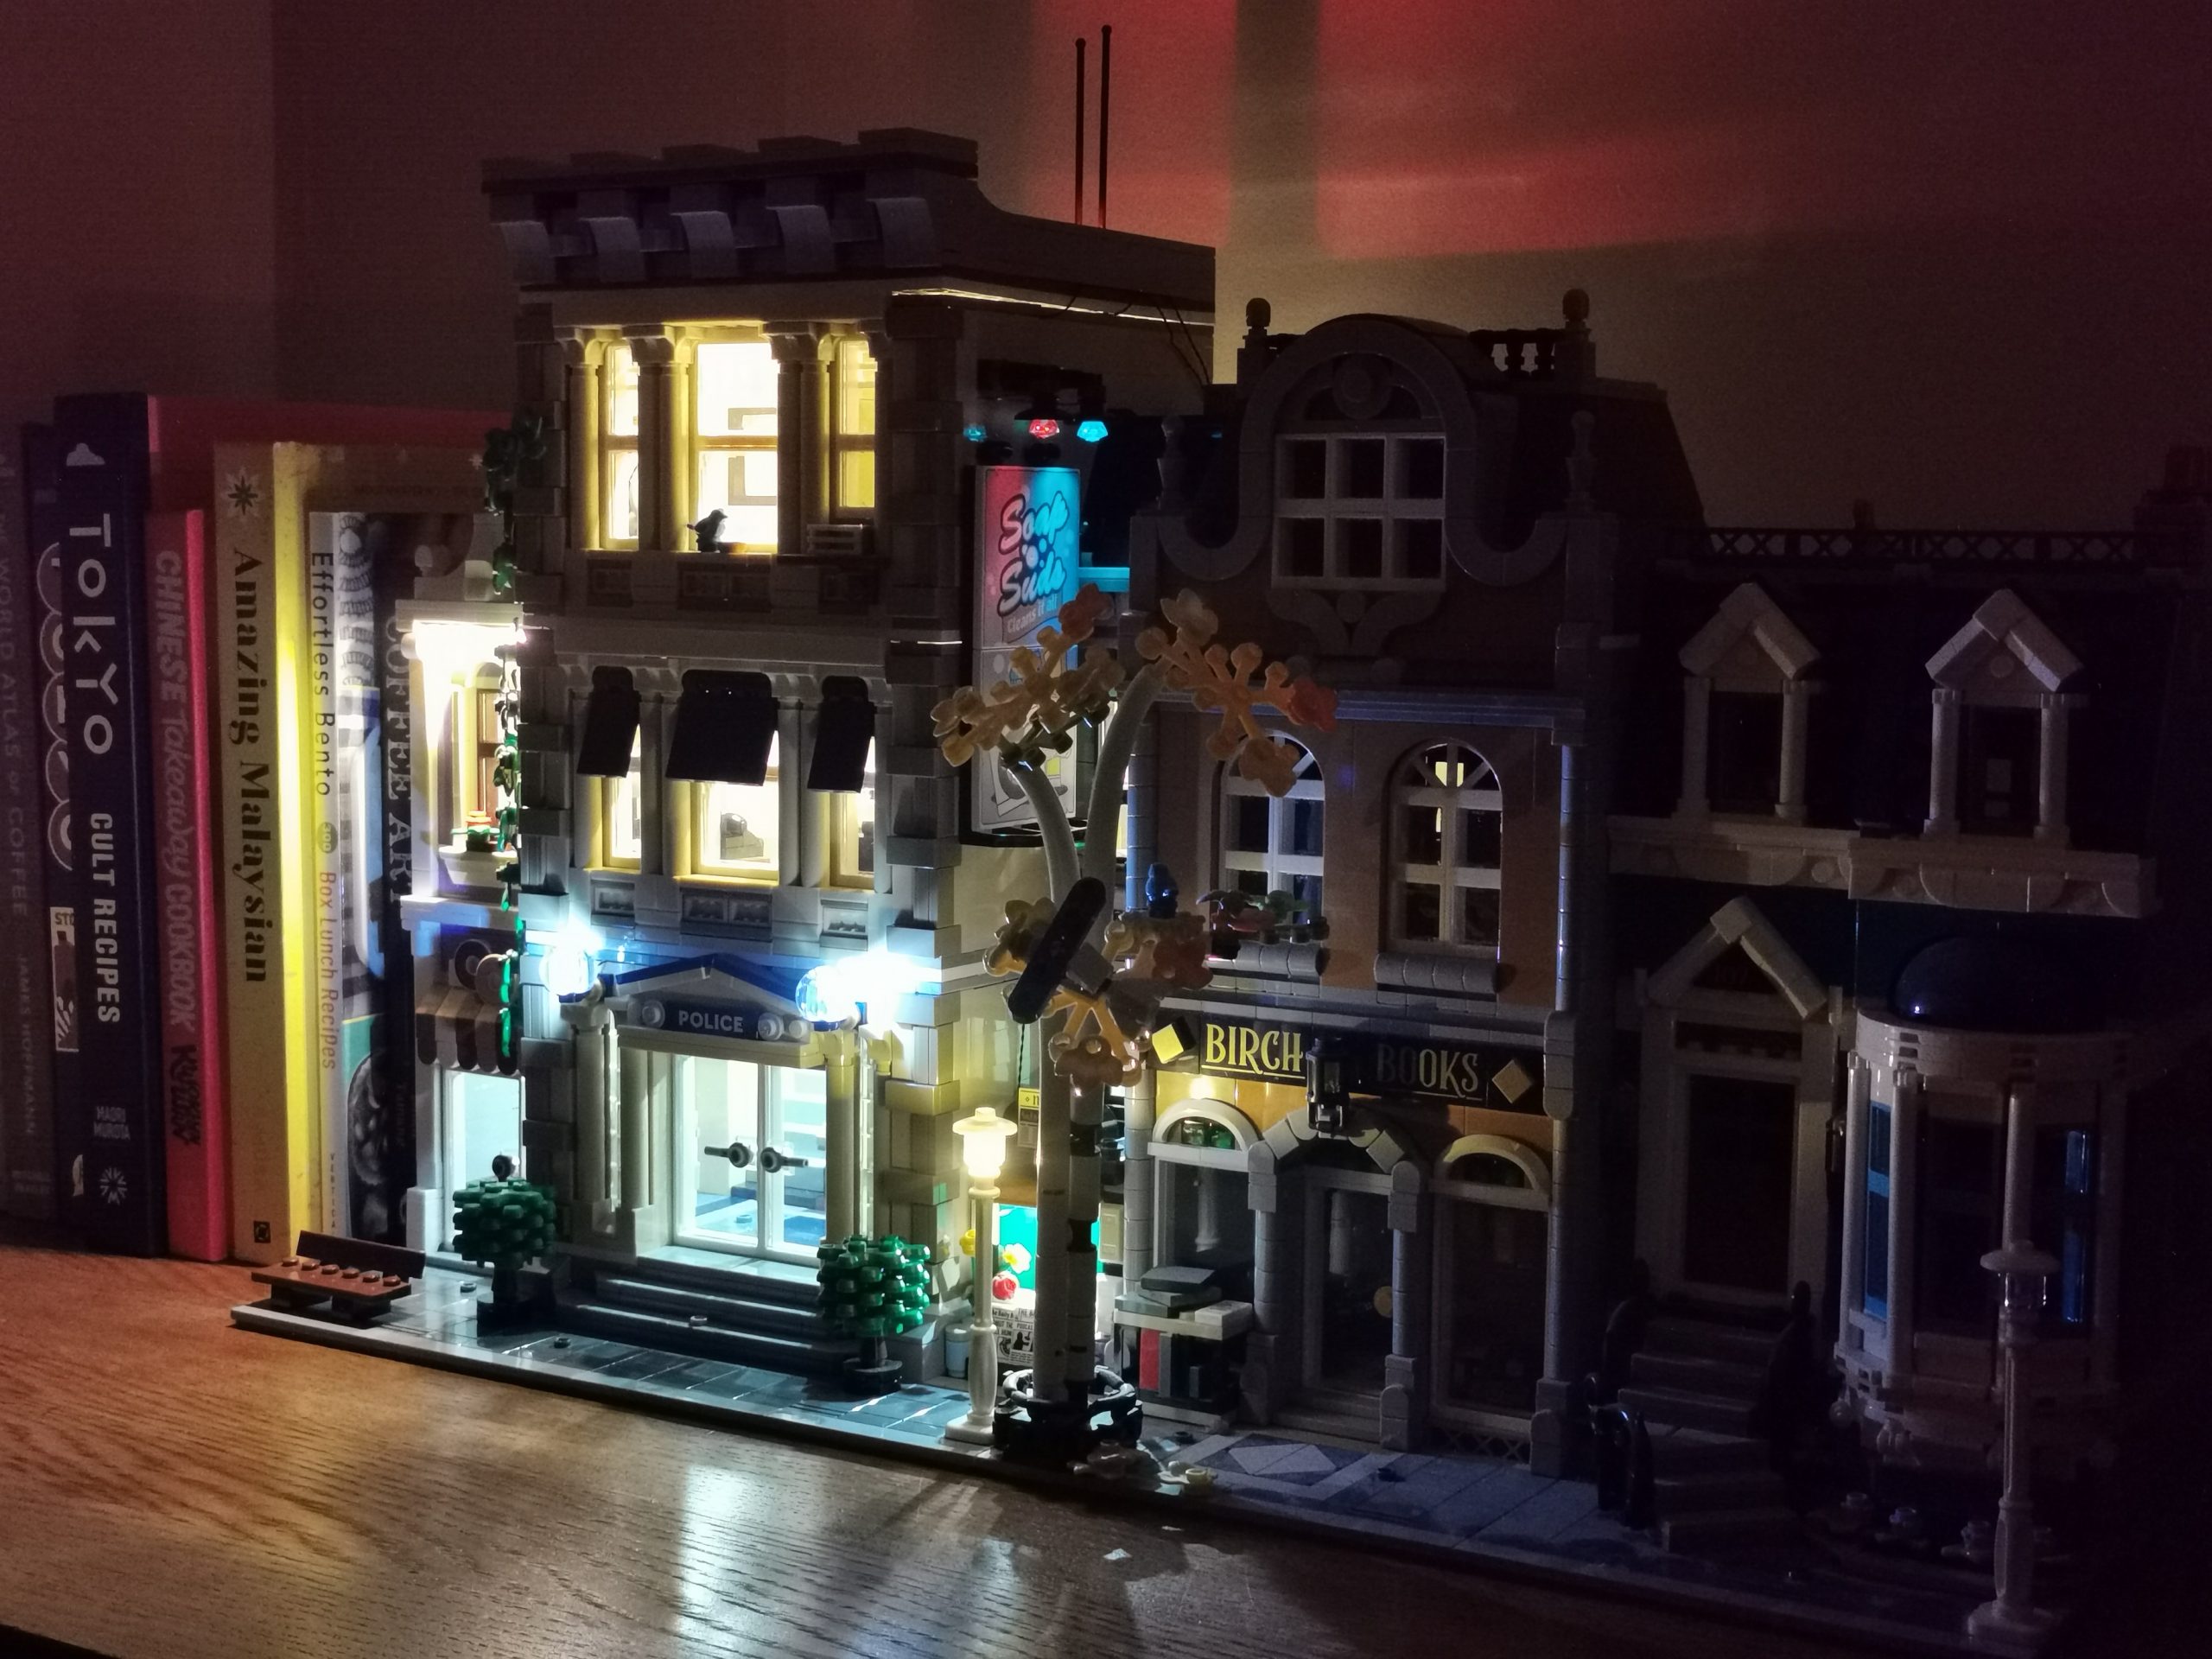
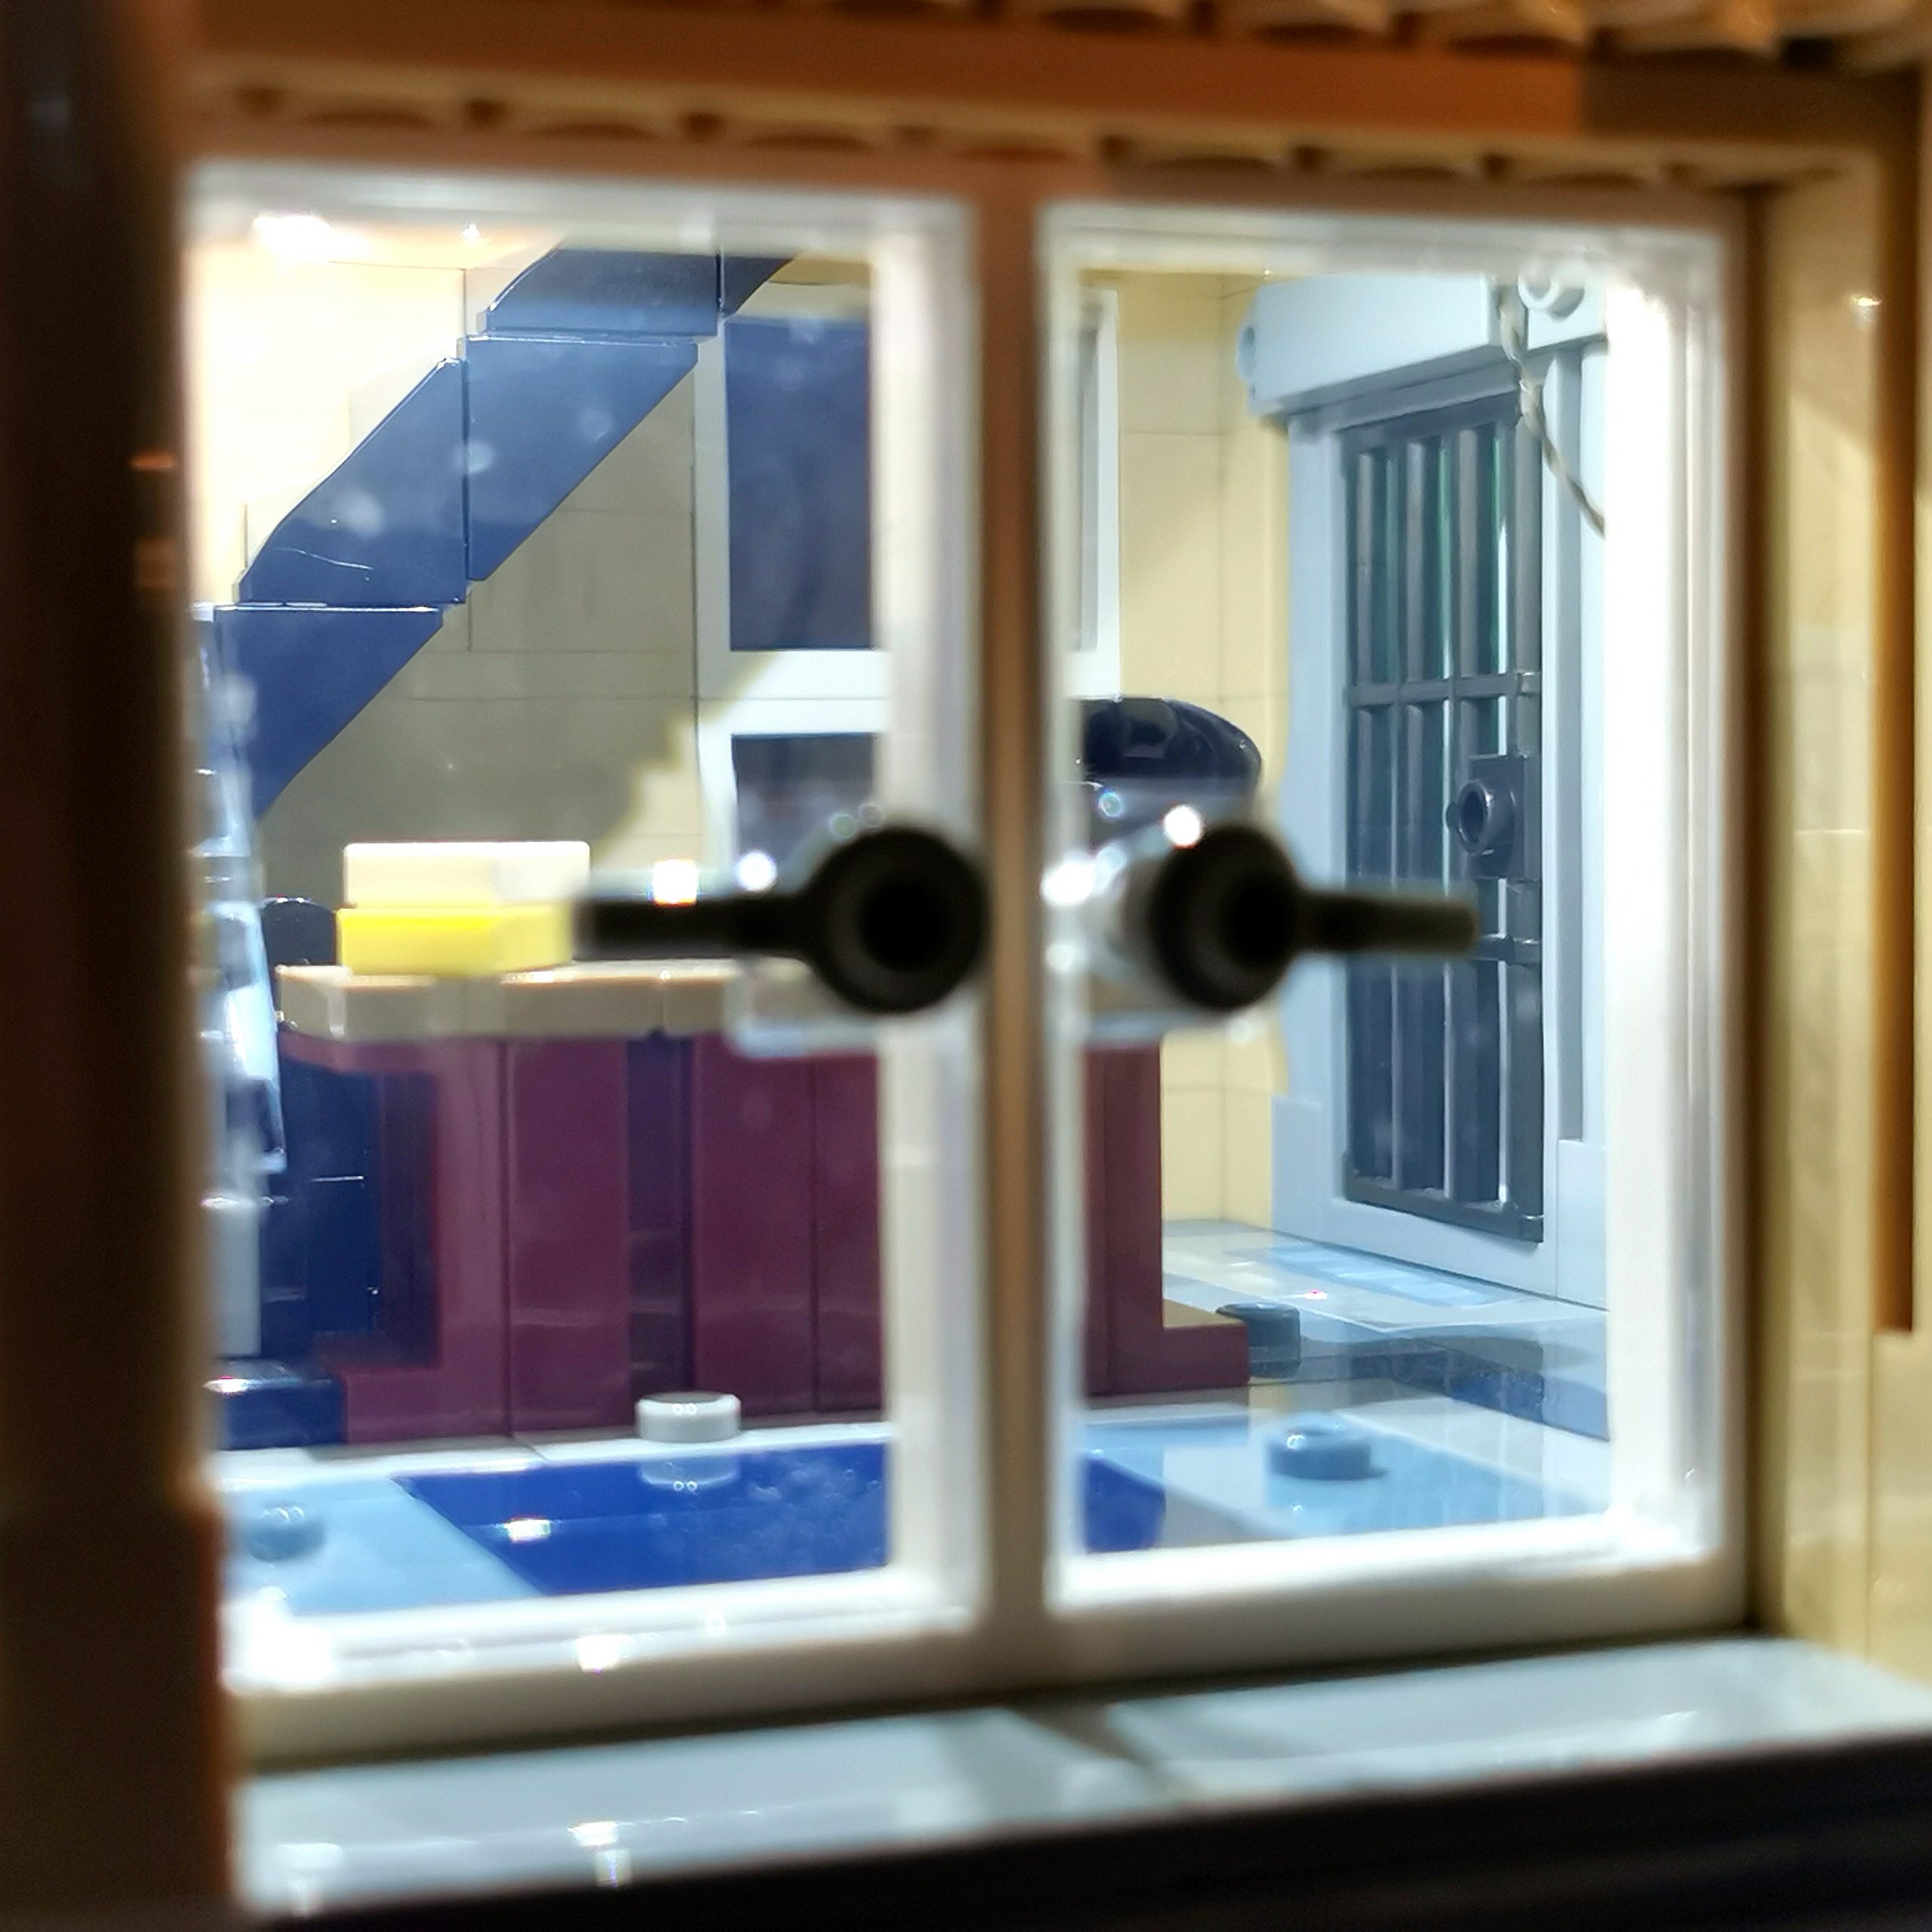
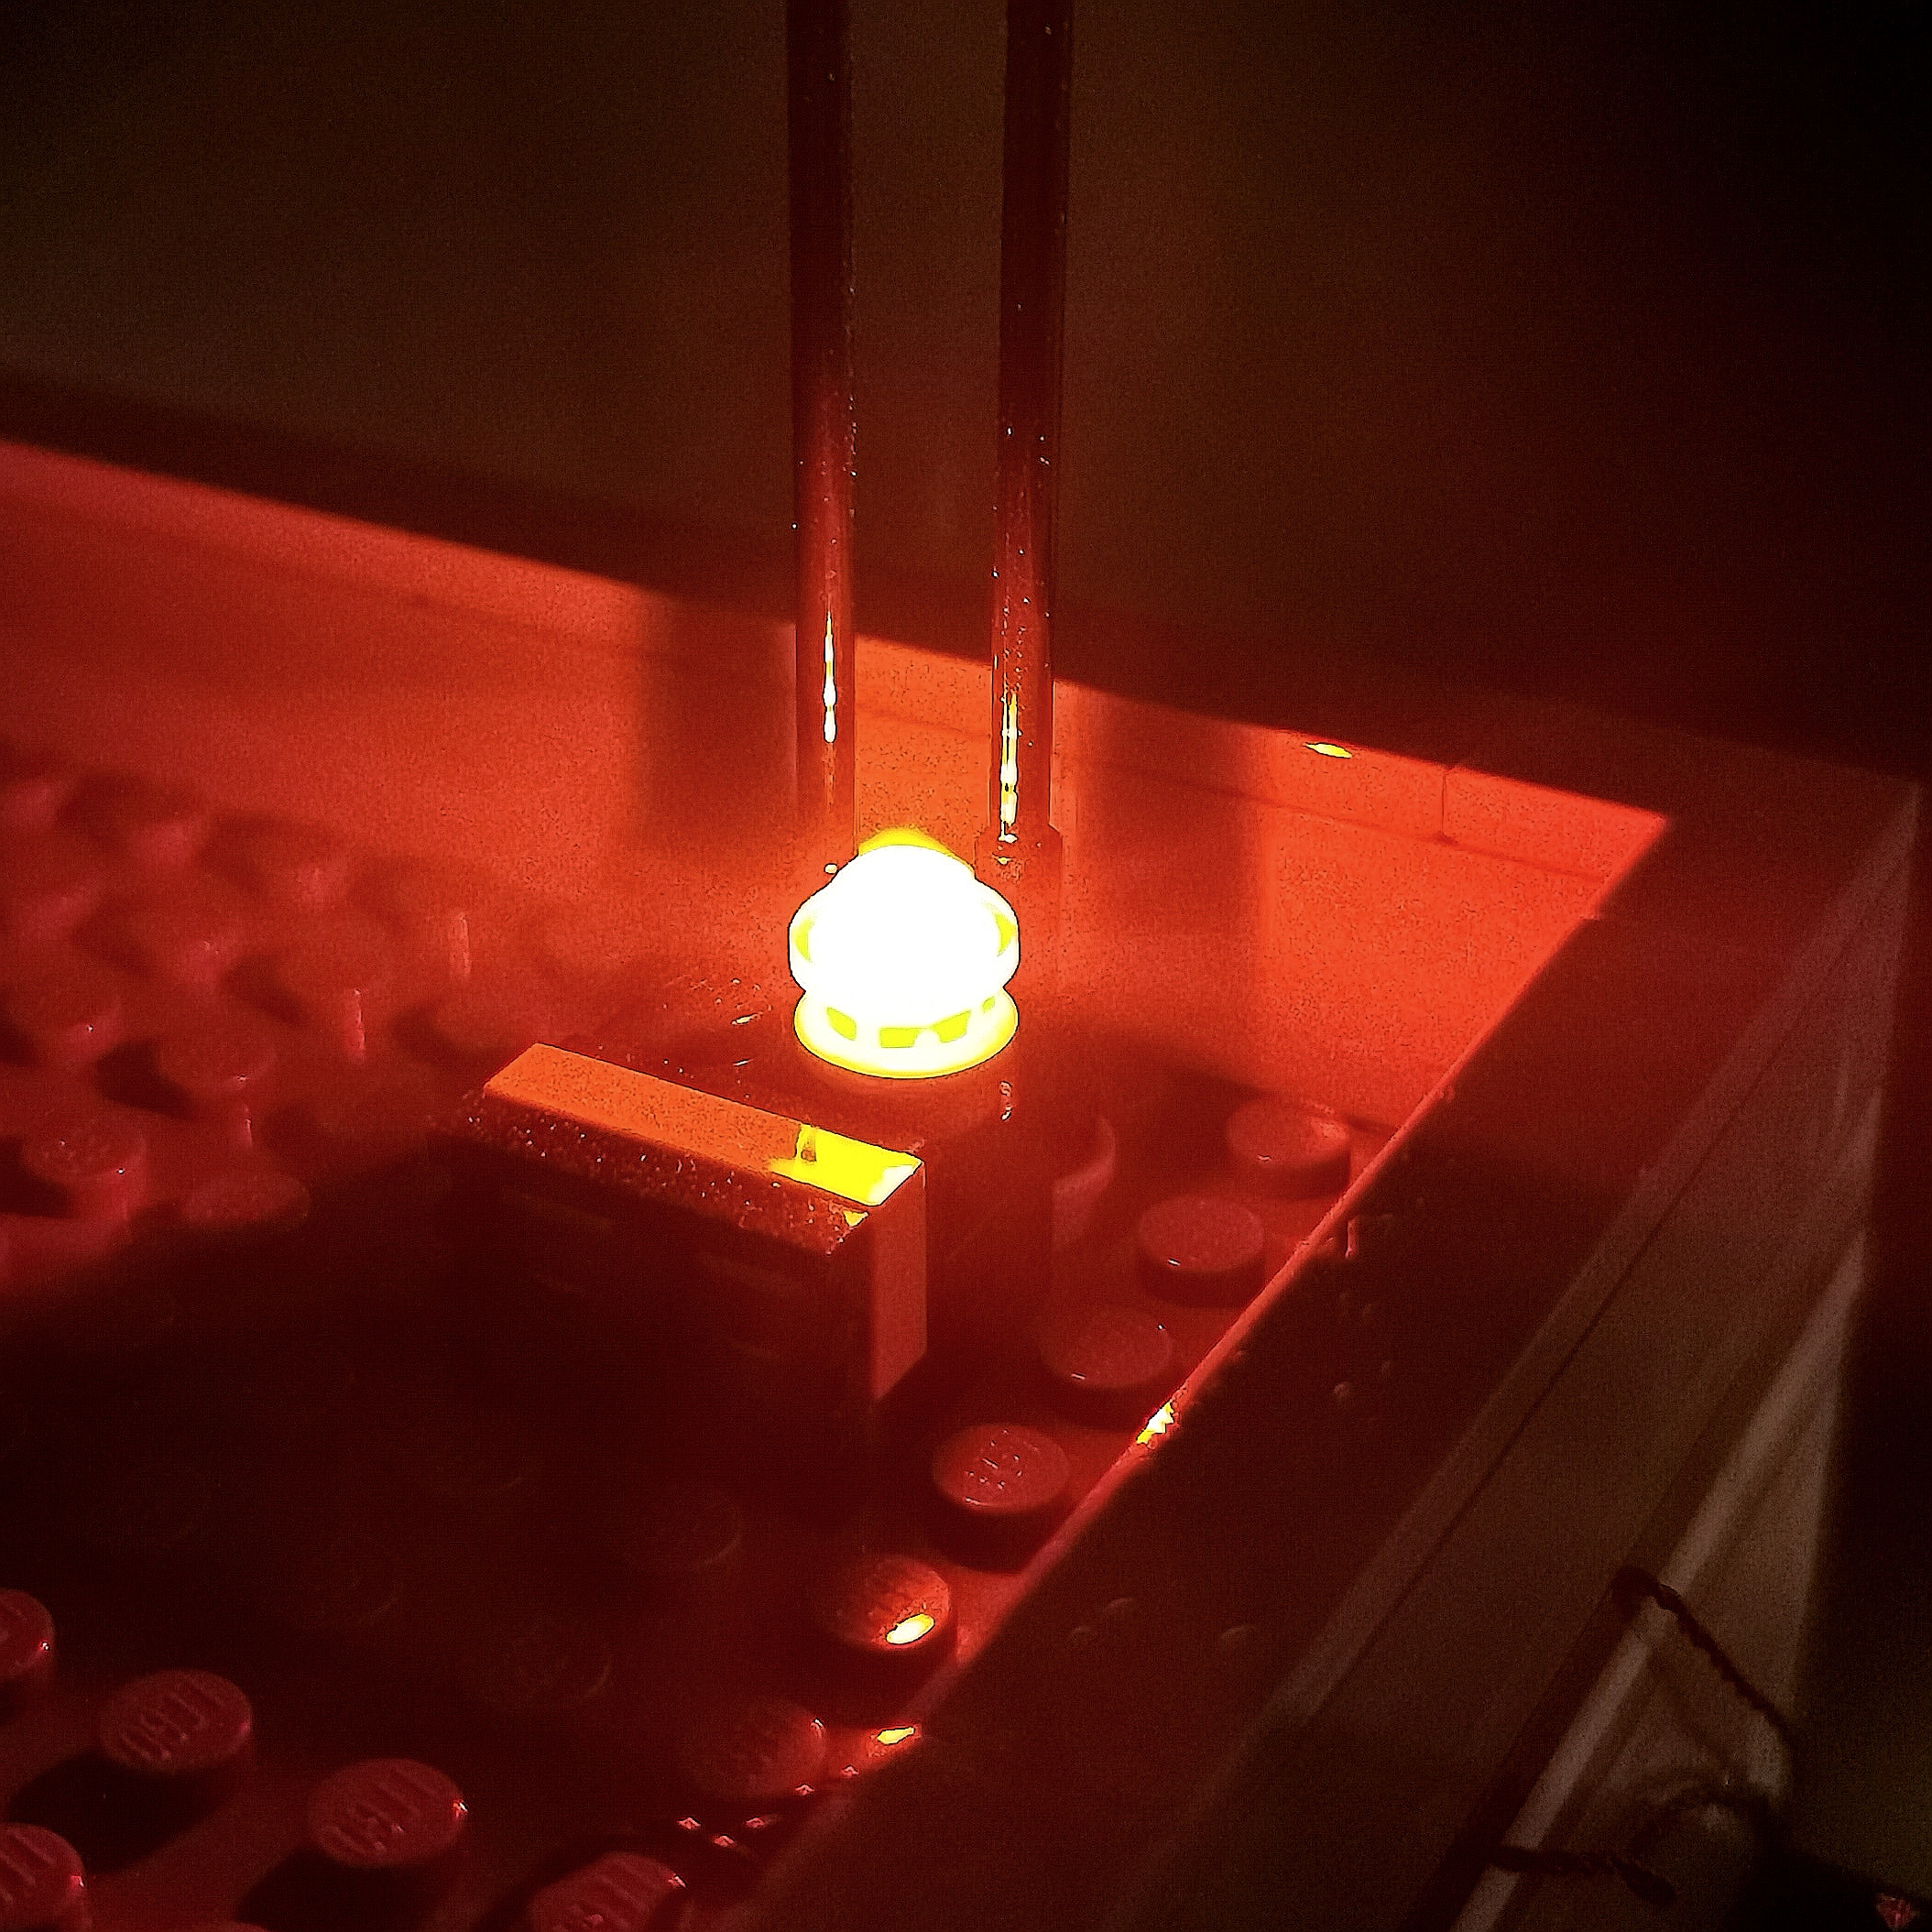
Having the BRIKSMAX LED Light Kit fully installed we can now turn on the lights and see what the last few hours of hard work results in, and let me say it is spectacular!
The remote control, that comes as standard, is a great addition to the kit and works incredibly well. It allows you to switch on and off the floors individually, along with the outside lights.
You can also dim the lights slightly if the desired level is too high for you to enjoy fully.

Another handy addition is the battery pack that also doubles up as a USB powered device, saving you money, and the environment, by going through countless batteries.
I’ll be honest and say that I’ve not had the lights on much and only used them for writing this article. Once I get setup properly, get myself a LEGO room or decent space, they’ll be plugged into the mains and powered properly. The batteries I popped in there though are still going strong and no noticeable light-loss so all is good!
So, without further-ado, here are the BRIKSMAX LED lights in action:
Conclusion:
To sum up the BRIKSMAX LED Light Kit in one word I’d have to say stunning!
The kit itself has a luxury feel about it, not just the cables and other technical bits, the packaging and design all point towards a premium branded product.
Including a physical instruction manual really takes this to the next level and makes the whole process easier and most importantly accessible.
Installation is at times fiddly and a little frustrating, but this isn’t necessarily BRIKSMAX fault, as it depends on which LEGO set you’re lighting up.
The team here at The Brick Post highly recommend BRIKSMAX and Lightailing for all your light kit needs and as a thank you for reading through this introductory and review-like article here is a discount code to try the brand for yourself.
Discount code:
Head over to https://www.lightailing.com/ and enter brickpost10LT at the checkout for 10% off your first order, valid until 31/12/2021!
A big thank you to BRIKSMAX for hooking us up with such an incredible product, we will definitely be adding more to our growing City and select LEGO sets.
Please let us know in the comments below what you thought of the article, the BRIKSMAX LED Light Kit, and if you have already purchased one or going to soon. We love hearing from you!
Gallery:


What is your reaction?
 YES!
YES!
 I like it
 It's OK
 Not Sure
 No!
No!