Since starting my obsession with LEGO many years ago, the direction in which I want to take my collection in constantly changes, from small display sets, Minifigures, larger display sets, back to Minifigures and repeat. But one thing has never changed, my love for LEGO Modulars!
The dream of having my very own City has been just that, a dream, until now. Having moved to a house that not only is in a different Country but also has the space to actually build something substantial and get the LEGO City party started. Situated in my garage, the basis for my City is 8 foot x 4 foot, made from wood and not-so expertly cobbled together. You might be thinking that a table that size is overkill, and you’d be right, but there is plenty of room for expansion and the many more Modulars yet to come from LEGO over the next several years.
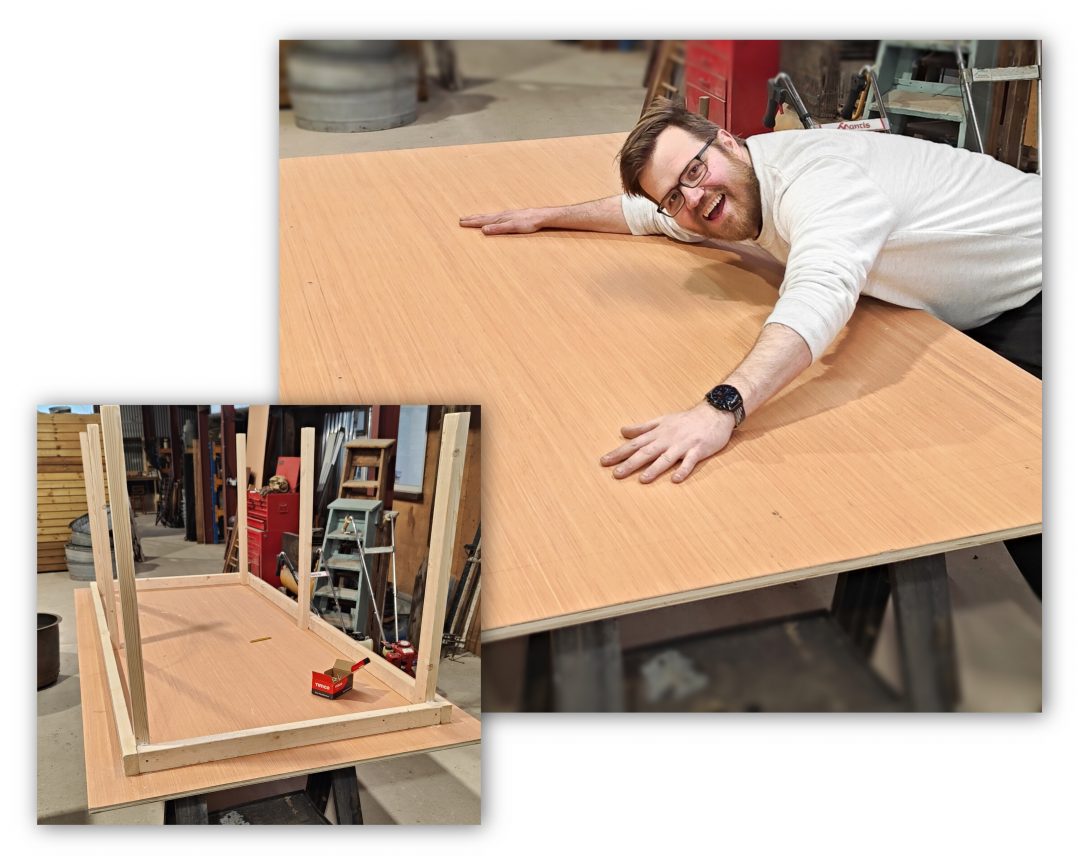
After questioning the size of table I would like for many days, I finally settled on a sheet of 20mm ply for the top and 3×2″ CLS for the legs and supports, sourcing the wood from a local DIY store. Thankfully there wasn’t a need to trim the panel so it was a matter of cutting the legs and supports to size and fixing them securely to the table top. Making sure to use the golden rule throughout any DIY project, measure twice – cut once.
Marking where the legs would go, I flipped the table top over and screwed the supports on first followed by the legs. Using 6cm long screws to help with stability and overall sturdy-ness, I not only attached from the top but also the sides, securing the legs to the supports.
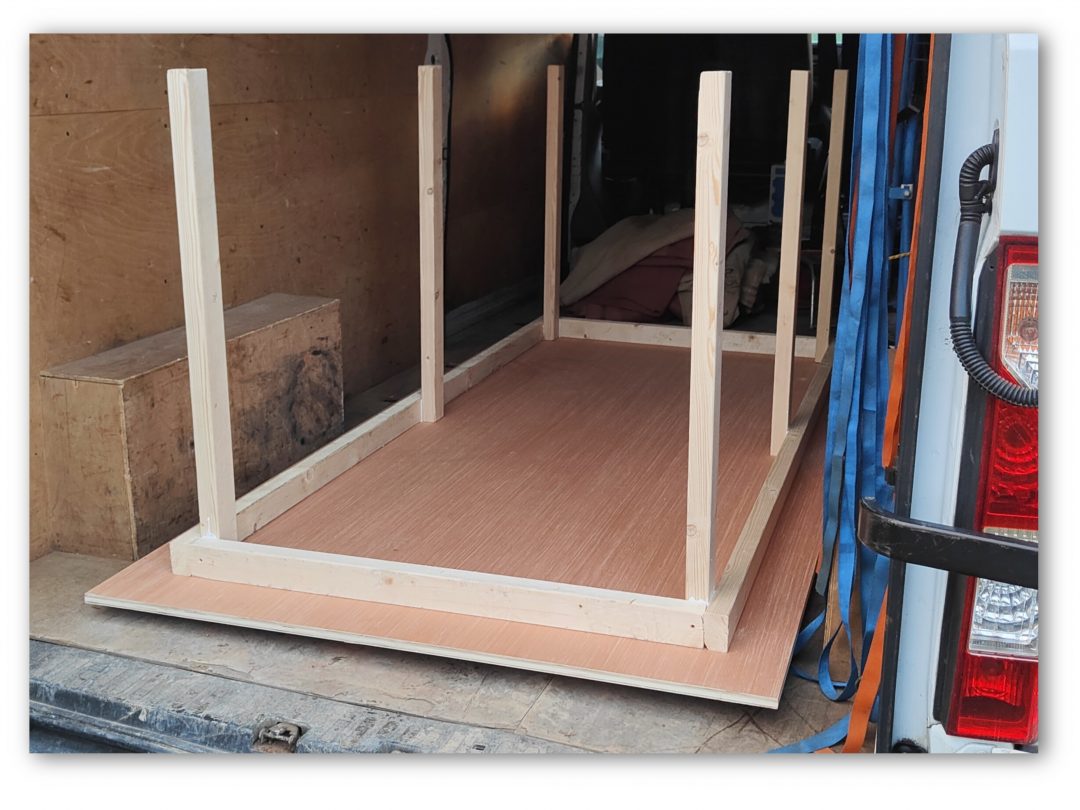
It was then a case of transporting it to my house just down the road, as I decided to construct it at my place of work, having that extra space and access to the right tools was great. It was a two man job lifting it into and out of the van, thanks Dad!
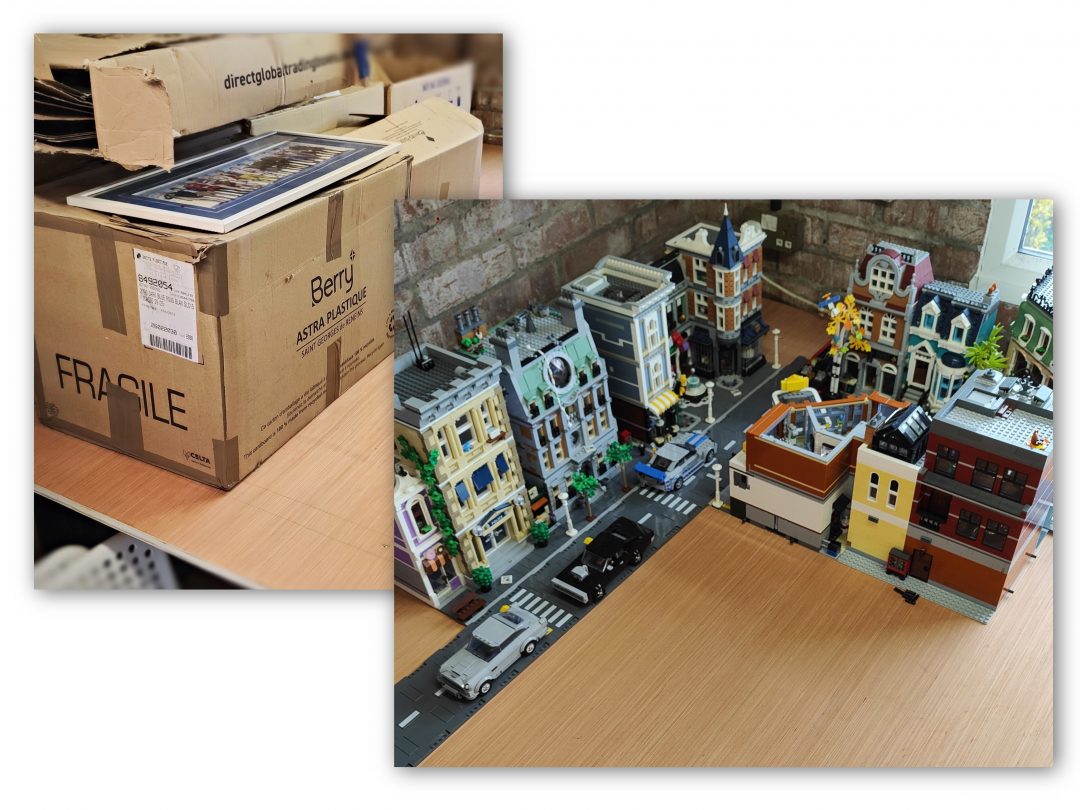
As I mentioned earlier I have recently moved house and those that have done do before know just how hectic and stressful it can get. The garage, where my table is going, is still chockablock with unsorted boxes and random odds & ends, so making a safe pathway through it all was necessary. Thankfully I managed to clear enough space for myself and designated helper to maneuver the sizeable table into it’s final resting place.
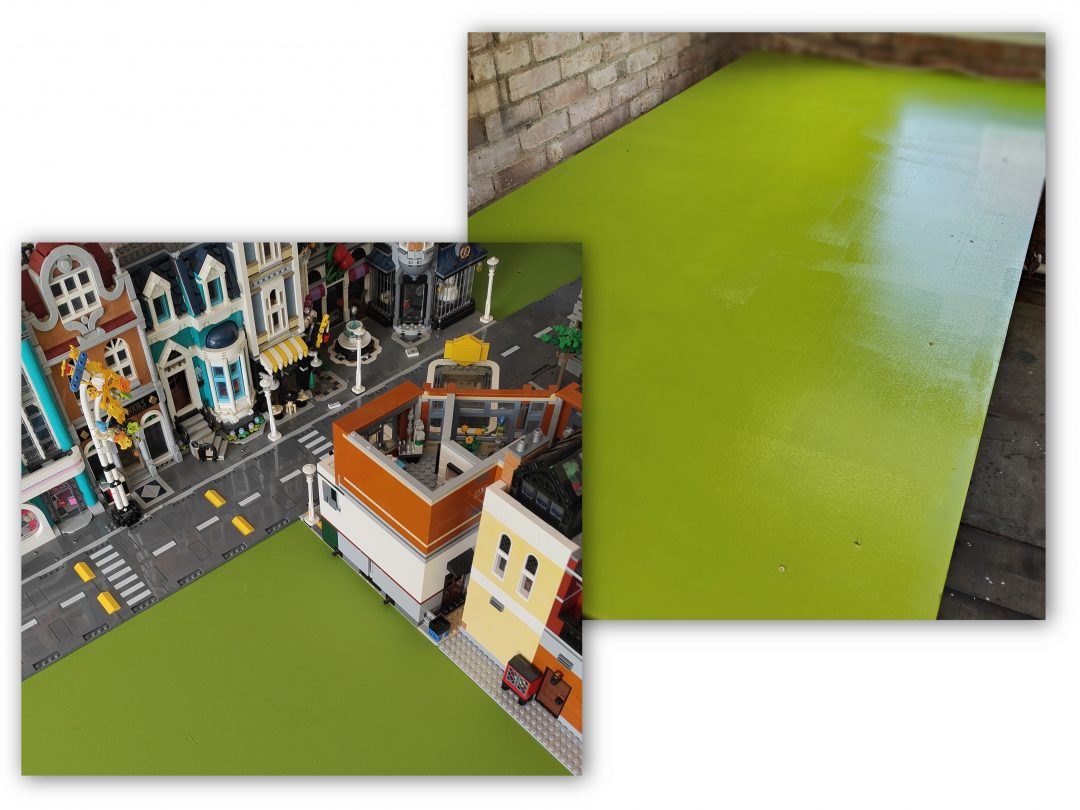
For entirely testing purposes, honest, I wanted to gather up my Modulars and road plates and see how the City would look temporarily in place on the table. I did this live whilst on Instagram for followers and other people in the se boat as me, hoping to get some advice was well as arrangement suggestions. I must say it looked great and felt amazing to finally have my sets out of storage and on display in the start of my City.
To make it harder for myself and to create extra work, I made the decision to give it a lick of paint. As baseplates and anything LEGO related is rather costly, I thought it would help the City blend in slightly better rather than sitting on plain wood. I think this particular shade of green, dubbed ‘Wet Lands‘, looks both LEGO-ish and natural, what do you think?
That’s not all I hope to paint as I have recently purchased yet more wood to use as a backdrop. Grabbing another sheet of ply, this time 9mm thick, I hope to cut it directly in half (long ways) which will be 2 foot tall and go along the back and furthest edge of the table. Painting it ‘Azure Sky 3‘, a lovely shade of blue, it would not only hide the brick wall behind it but also give better results when taking photos, perfect for scenes and posts.
I’m hoping to start work on the back panels very soon so watch this space for a City table update soon. As with all LEGO collections and projects, it never really ends, it’s great fun and a project I’m glad I started but it’ll be a long road until it looks more polished and an inhabitable place for Minifigures.
To stay up-to-date with my LEGO City journey please feel free to bookmark our website and follow us on Instagram. We also do random live streams from the garage too if that’s more your bag!
If you have a LEGO City or Street and would like to send in tips and suggestions, please use the comments section below. I’d love to hear what you have to say and the experience that comes from building up and maintaining a LEGO City.
Progress videos:
Making the table: https://www.instagram.com/reel/C4jTx5MrO1r/?igsh=MXR3aDNsNWs3Z2t2NQ==
First garage live stream: https://www.instagram.com/reel/C4nzcNcoTMz/?igsh=MWplaXltemZ0ODh1Mg==
Lick of paint: https://www.instagram.com/reel/C5CWAGto7p2/?igsh=eWpxcXZjejRjY2Jj
What is your reaction?
 YES!
YES!
 I like it
 It's OK
 Not Sure
 No!
No!